Miscellaneous
Aerial Photos
These aerial photographs of the garden were taken at different times. The first group of seven aerial photo were taken in
about 2009 prior to me moving to Bridgetown, and show the planning of the garden in early 2010. Click on the image
to see full size photograph.
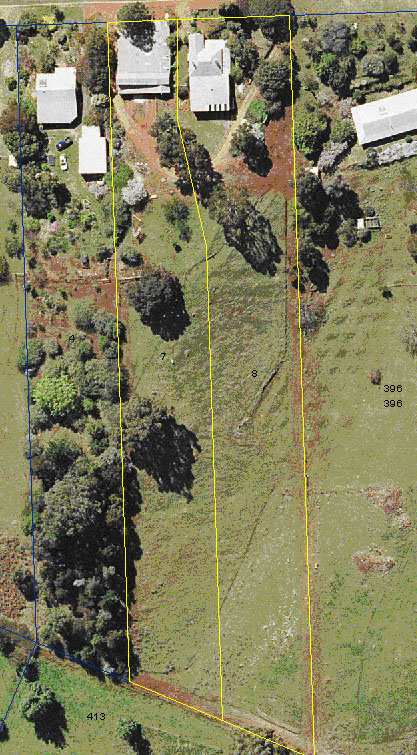

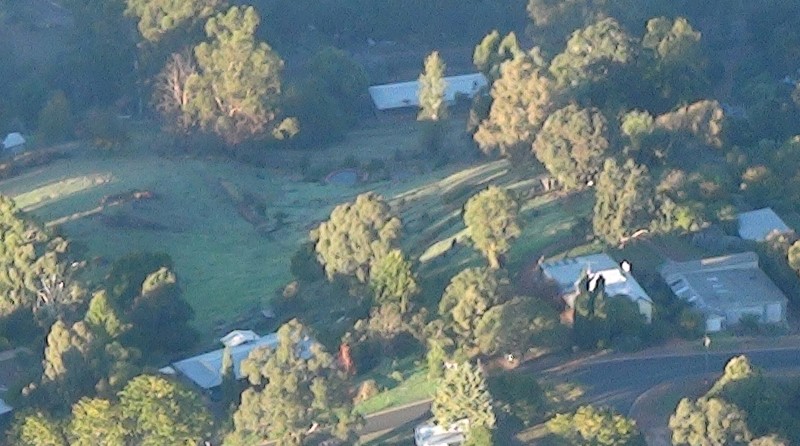
Aerial views 1 to 5 are oriented with north at the top, south at the bottom, west on the left and east on the right.
They show the house at the top right and the packing shed at the top left of the map and the boundary of the property
line as a fine yellow line. The fine yellow line running north south down middle of the map along its length of property
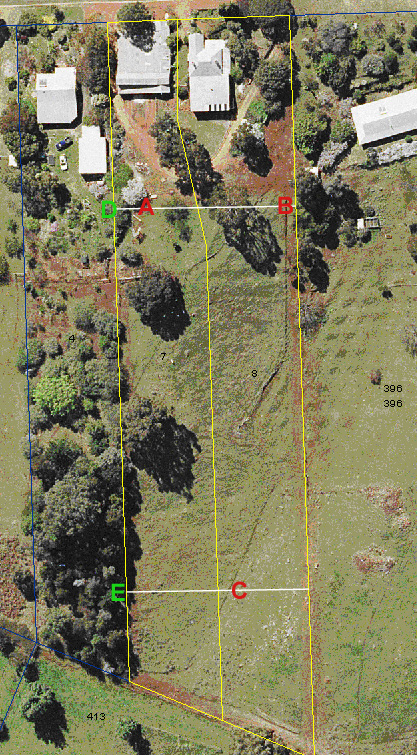
represents the boundary between the two separate land titles. In Aerial view 2 the fine white lines represent the division
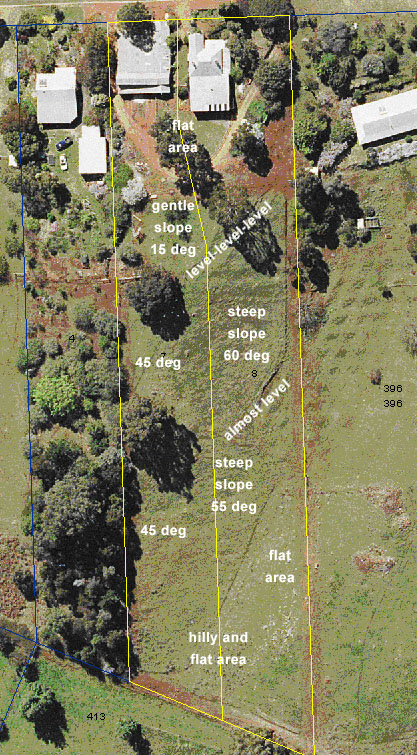
between the top garden, the middle garden and bottom garden. Aerial view 3 shows the different slopes in degrees and
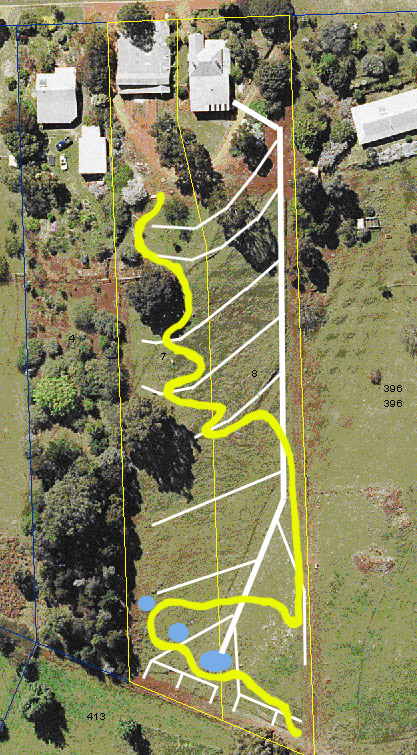
described in words. Aerial view 4 includes the proposed sawdust pathway as a thick yellow line, irrigation and water
supply as a thick white line and ponds as blue circles. Aerial view 5 shows the same features as Aerial view 4 plus
the proposed power supply to the bottom garden as a thick red line, power box as a black rectangle, native trees as
a thick dark blue line, streams as fine dark blue lines and waterfalls written in yellow as Wvv. The waterfall at the
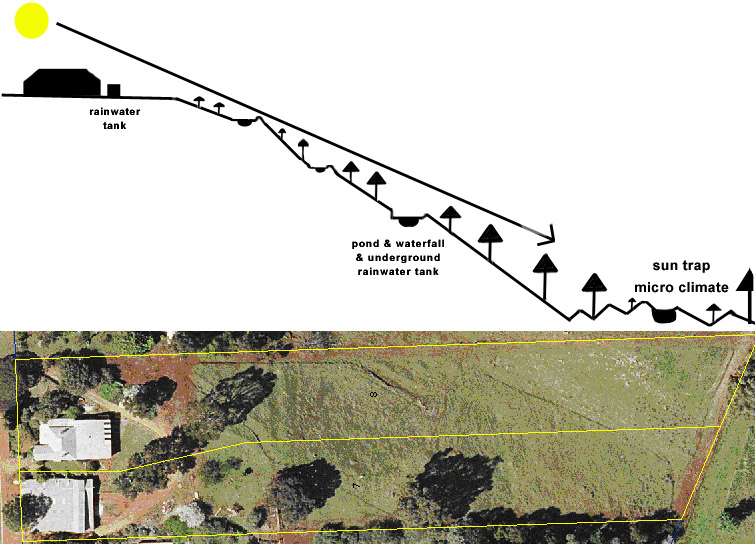
bottom right of the map was not included in the final design. Aerial view 6 is oriented with east at the top, west
at the bottom, north on the left and south on the right. The map show the house and packing shed on the left of the
map and the title boundaries as a fine yellow line. Above the map is a topographical representation of the garden showing
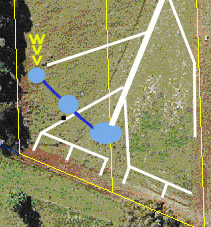
the slope of the hill in different parts of the garden and the angle of the sun in winter. Aerial view 7 is oriented
with north at the top and shows the the waterfall as yellow Wvv, irrigation and water supply as a thick white line,
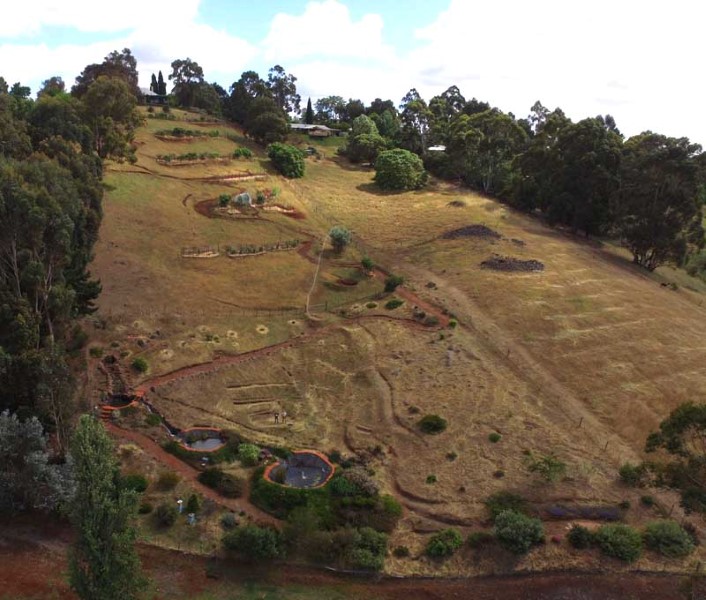
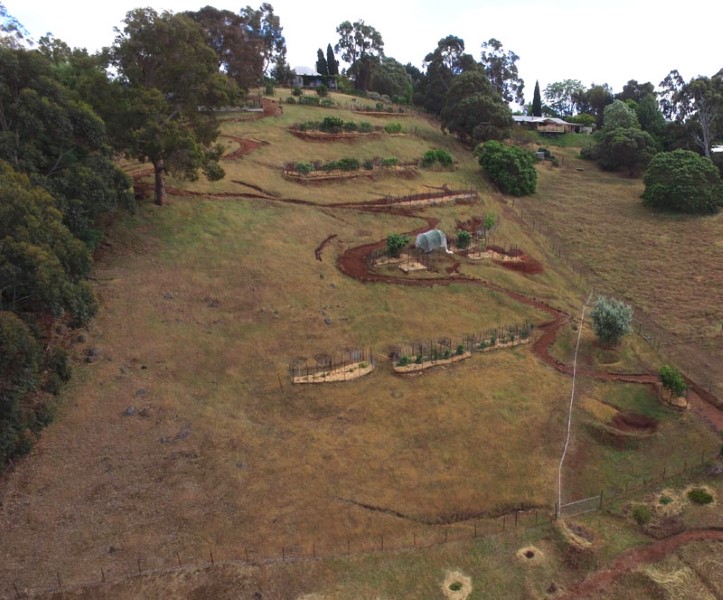
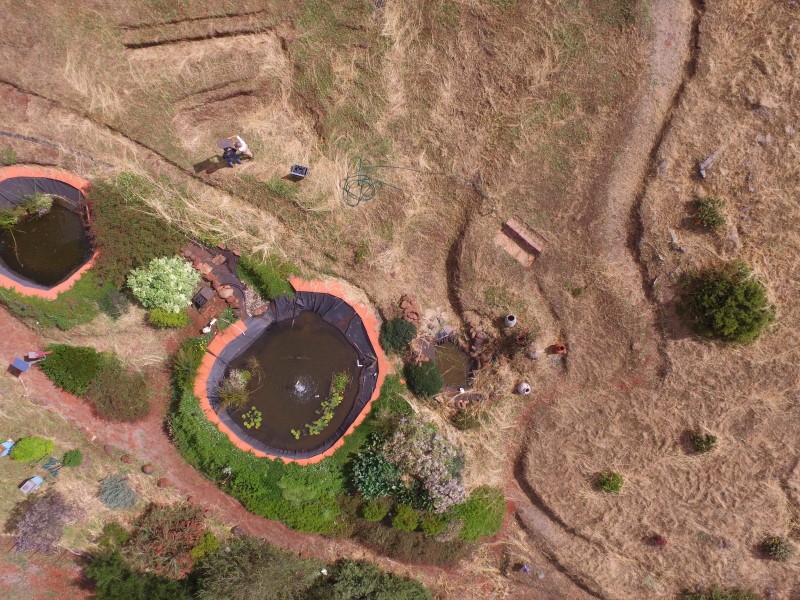
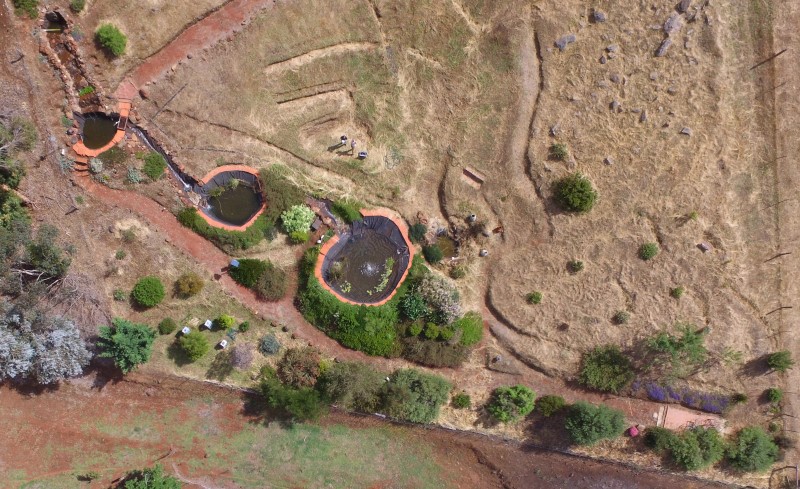
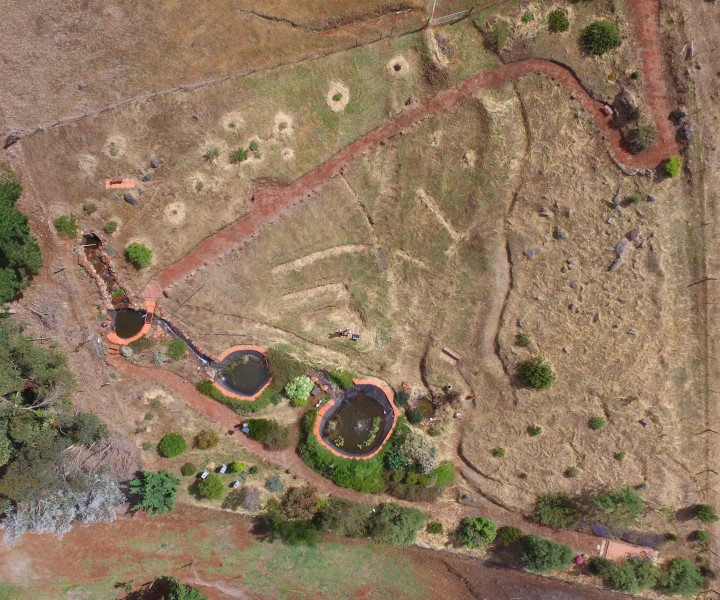
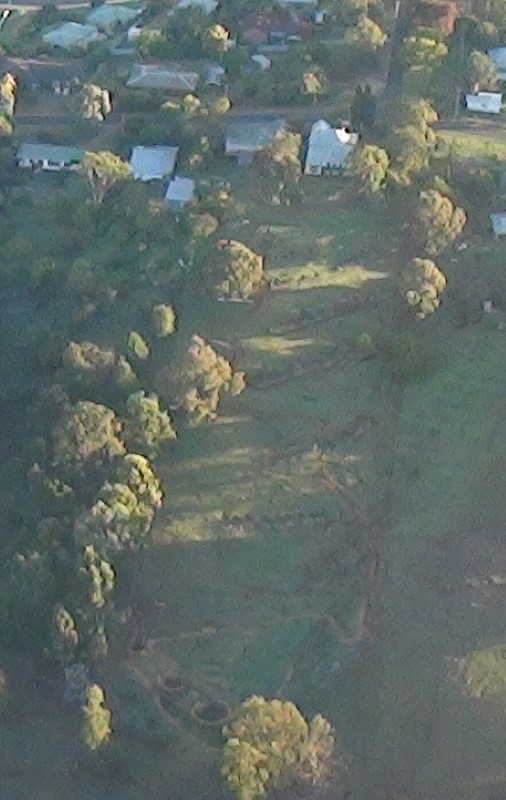
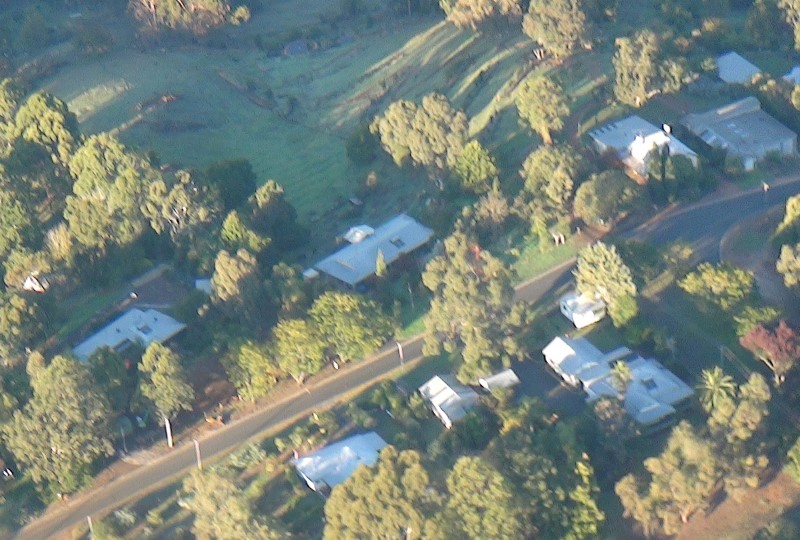
ponds as blue circles and connecting streams as dark blue lines. The remainder of the aerial photographs were taken
by a drone (thank you Darryl) and a light airplane (thank you Mike) about 2016 and 2017.
Conception & Goals
My design of Bridgetown Hillside Garden was based on information from books and the internet and using logical reasoning.
I applied the knowledge I gained from studying Permaculture design many years ago. I also consulted locals who knew
about the area and experts in various fields of geology, erosion permaculture, landscaping, gardening, water systems,
soil chemistry and plant biology. My aim is to create an erosion stable and environmentally sustainable, low maintenance,
productive, and aesthetically pleasing garden. I want to create a garden that once established would be relatively
easy to maintain and had low water usage. I didn’t want to be a slave to my garden. My goal was to be a land steward
of a mixed orchard and nature area. I want to create a garden that once established was water efficient and relatively
drought tolerant.
Soil tests and temperature
When I arrived I drilled a few test holes to determine the depth of the soil and if I could reach bedrock. I frequently hit
rocks but I think these were just loose rocks and not part of the bedrock. The maximum I was able to drill into the
soil was half a metre but I suspect the soil was much deeper. The type of soil varies in different parts of the garden.
It is sandy loam at the top of the garden and a clay loam at the bottom. In other places it is heavy clay or combined
with stones and rocks. Clay loam is fine for many plants but for some plants such as avocado trees and blueberries
it was problem. Tightly bound clay particle in the soil needed breaking up so that water could penetrate and reach
the roots of the plant. This required certain soil additives applied in the correct ratio. Things like dolomite, gypsum,
lime, sulphur, basalt dust, manure, seaweed/fish emulsion and blood and bone. Mid winter maximum and minimum temperature
of the soil at the top of hill and at the bottom. At the top of hill the maximum temperature was 18 deg C and the minimum
was minus 2 deg C. At the bottom of hill the maximum temperature was 16.5 deg C and the minimum was minus 1.4 deg C.
The soil is slightly acidic with a pH of between 5.5 and 6. The wind direction is from west to east but variable. The
winter sun maximum angle is 33 degrees and the summer sun maximum is 82 degrees.
People
Robyn Francis taught me Permaculture design in Sydney in 1985. Assessments and reports were done by
Adrian Williams of Pendragon Dryland Management Services and another one by
Troy Dowling of You Dig? Permaculture Design and Nursery. Advice on plants and garden from
Phil, Helen and Carolyn
Aerial map provided by the Shire of Bridgetown-Greenbushes
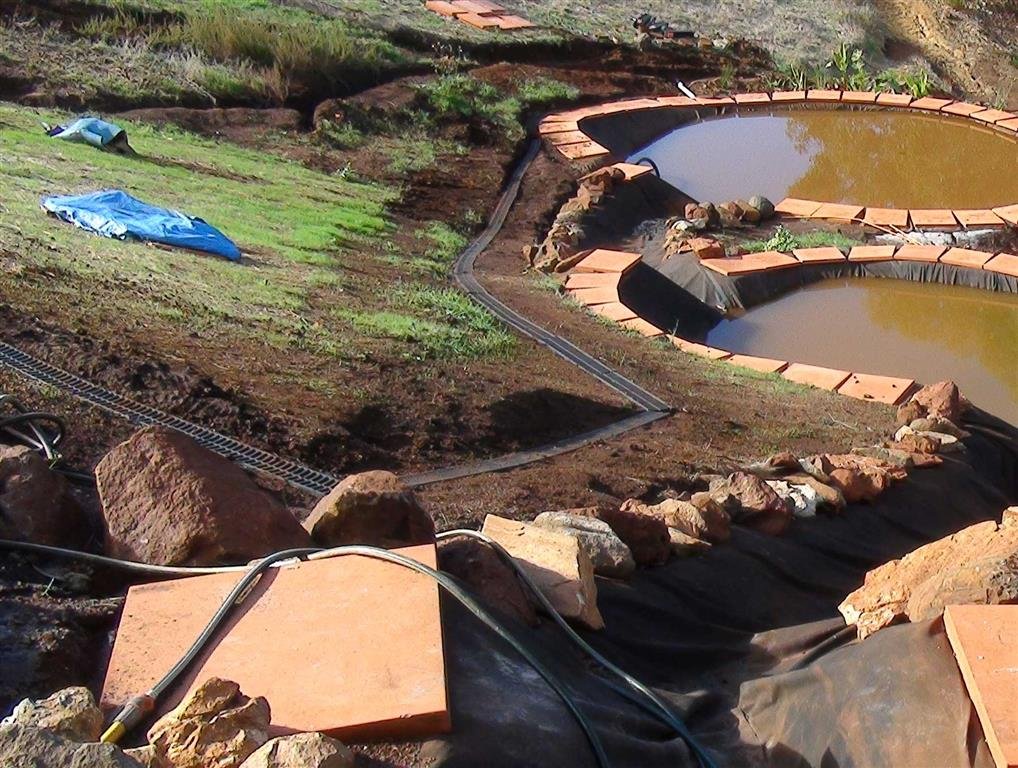
John May cut the zigzag pathway and dug out the holes for the ponds and
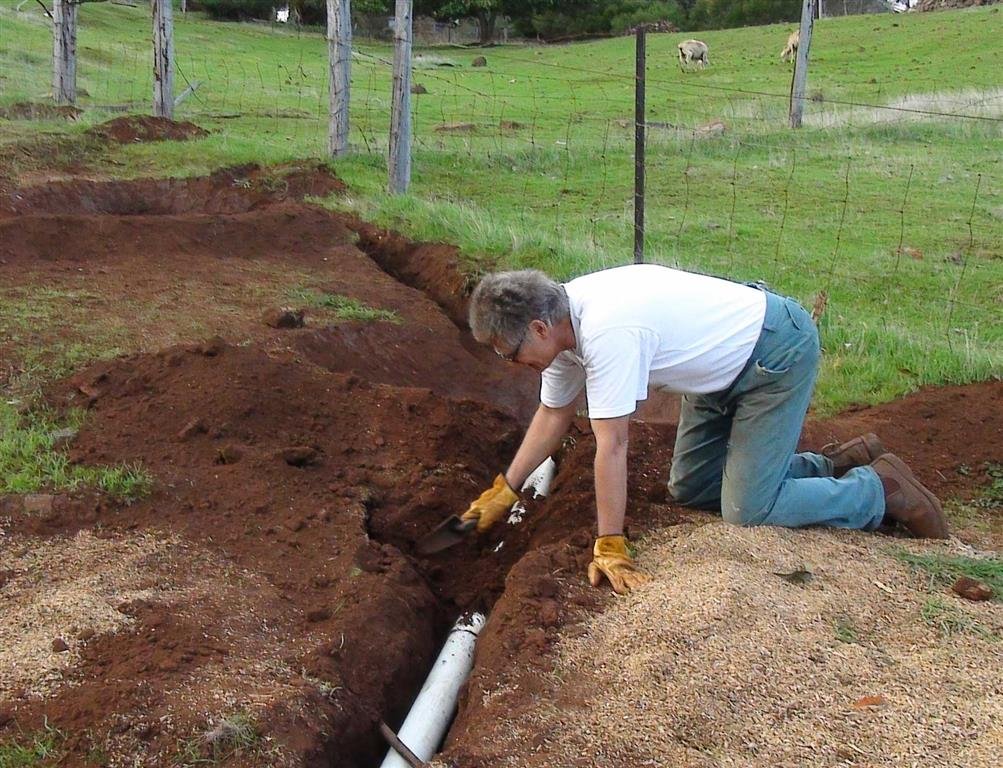
Ivan dug the trench for the power and irrigation.
Collin Jeffery (Fencing Plus) rebuilt part of the fence and instructed me on how to set up strainer posts
on orchard.
John Hall built the metal bridges that pass over the ponds.
Mick Watson delivers sawdust and other materials to the bottom of the garden. Workers assisting with digging,
rock moving, wheelbarrowing and other labouring jobs include
Aden, Alan, Allen, Bob, Bret (Spider), Cam, Darryl, Feral, Howard, Ivan, Jayden, Jenny, Joe,
Julie, Kim, Phil, Shane, Sean, Sharon, Simon, Steve, Stuart, Ted, Tim, Travis and Yohei.
Material suppliers: Rich Feeds (Rick, Liam & Matt), Bridgetown Elders
(Peter), McCays Solutions (Mitre 10 Stores)
(Paul, Diane, Cindy, Helen, Leanne & John). Plants: Parkland Garden Centre, Bunbury
(Liz & Paul), Boyanup Botanical, Boyanup, Hillview at Bridgetown Garden Centre
(Carolyn & Jenny). Watergarden Warehouse, Osborne Park
(Matt Stafford) supplied pond liner and pumps. The Right Stuff
(Chris, Peter and Stephanie) installed the irrigation system and helped with information on waterfall and
pond building.
David of Batsford Electrical,
Keith of Bridgetown Electrics and
Bob of Blackwood Valley Industries all worked at different times on the electrics for the bottom garden.
Marie-Clare advised on LED lighting.
Rob advised on safety regarding waterproof electrical fittings.
Jeff Nugent advised swales.
Natural History
Australia is one of the oldest and most eroded continents on Earth. Millions of years of wind and rain have worn down mountains
has left a dry flat landscape and soils that are infertile and require minerals and fertilisers to make them productive.
The area around Bridgetown is uncharacteristically hilly which is refreshing in a country that is so flat.Two hundred
years ago forest covered the landscape. Only the steepest parts of my garden may have been without trees. The area
around Bridgetown would probably have been a mixture of forest, grassland and wetland for thousands or millions of
years.When European settlers arrived in the middle of the nineteenth century it was quickly logged and turned into
farms. In the early to middle part of the twentieth century and right up to about 1970 the land was turned into apple
orchards. An orchard owner or manager would have lived in my house and used the shed next door for apple collection,
storage and transportation. But the hillside on my property is so steep it probably had never been used for growing
apples. So hopefully it would not be contaminated by residual chemical pesticides and herbicides.The property including
the house, shed and garden is about 200 metres long by 56 metres wide and covers an area 11200m² or just over 1 hectare.
Climate
The South West of Western Australia has a Mediterranean climate, with dry summers and wet winters. Almost all of the rain
falls between May and September. Mean maximum daily temperatures range from 16 °C in July to 27 °C in February. Bridgetown
gets very cold in winter mainly due to its inland location. It is the coldest town in Western Australia and in winter
can get down to minus two or three degrees Centigrade. The coldness allows it to grow fruit that require a frost as
part of a seasonal growing cycle especially stone fruit such as peaches, nectarines, plums and cherries.
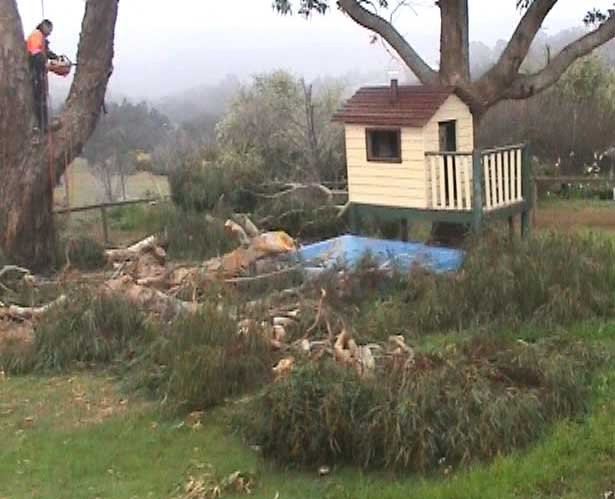
Dangerous tree

Dangerous tree 2
Tree cut 1
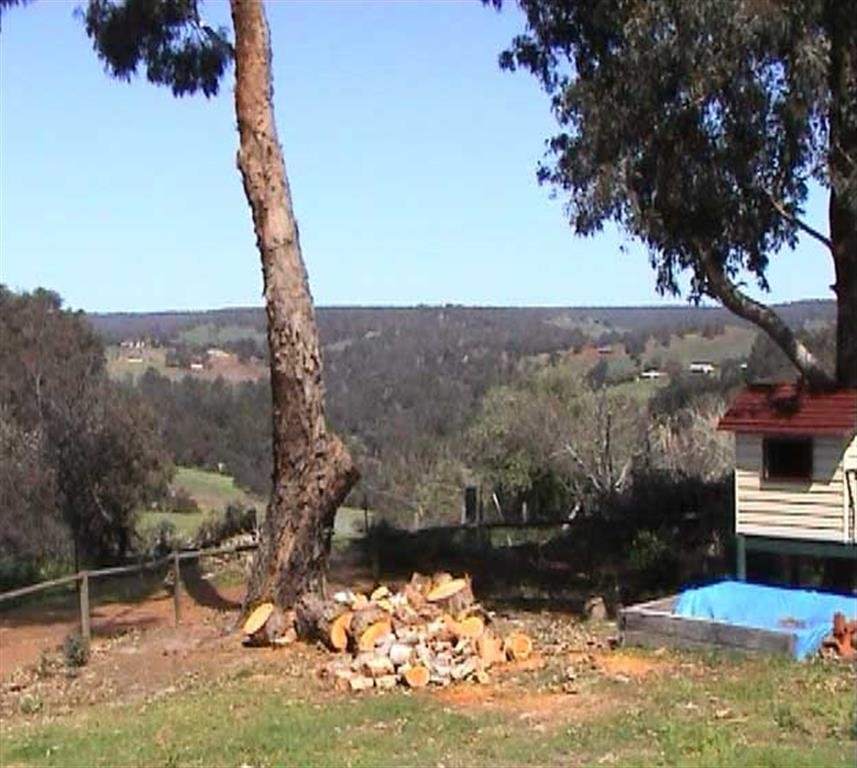
Tree cut 2

Tree cut 3
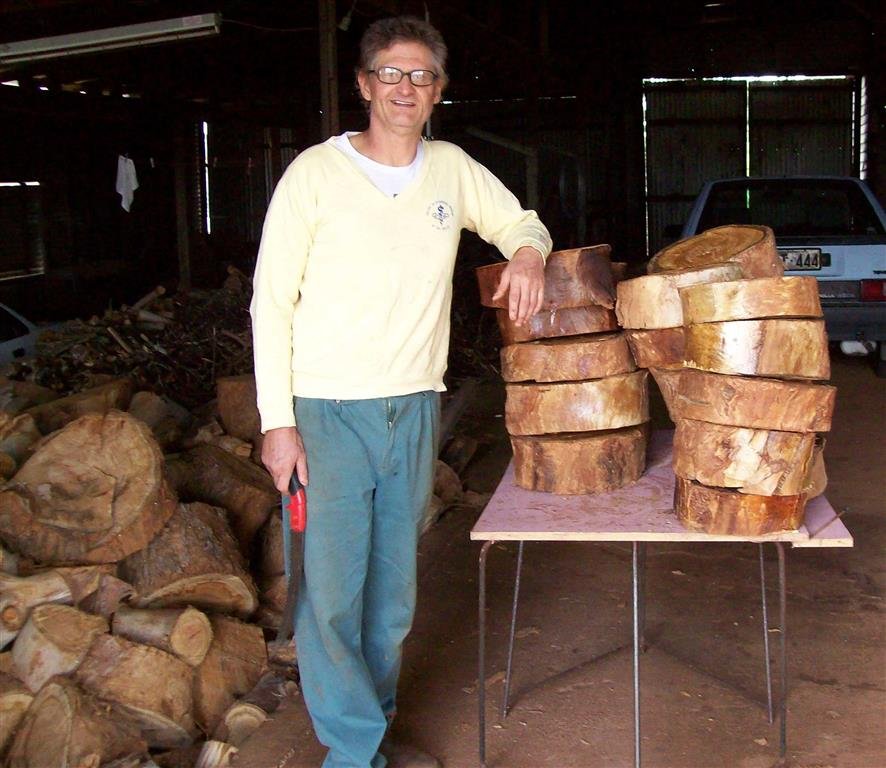
Tree slices for path
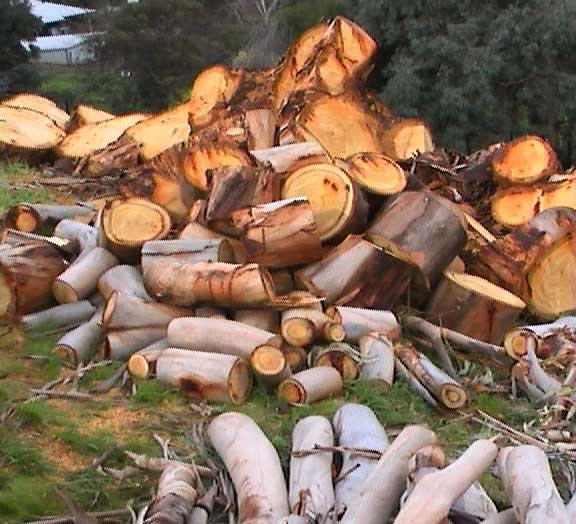
Logged tree
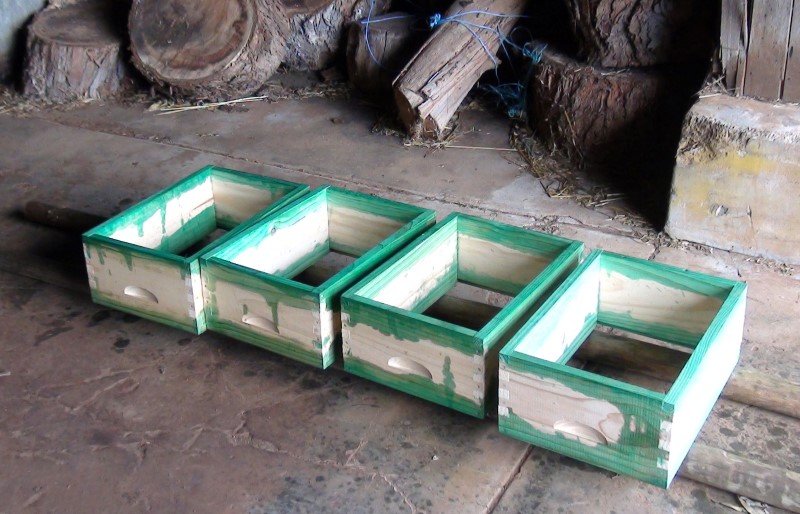
Undercoating Langstroth hives
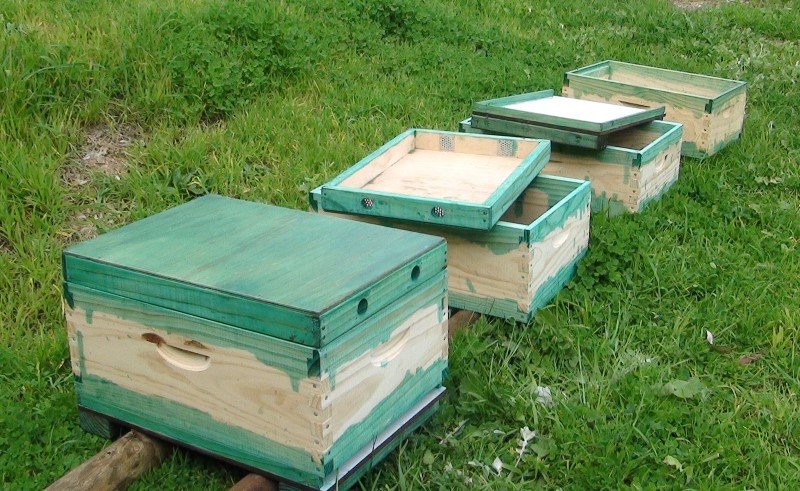
Paint drying on hives
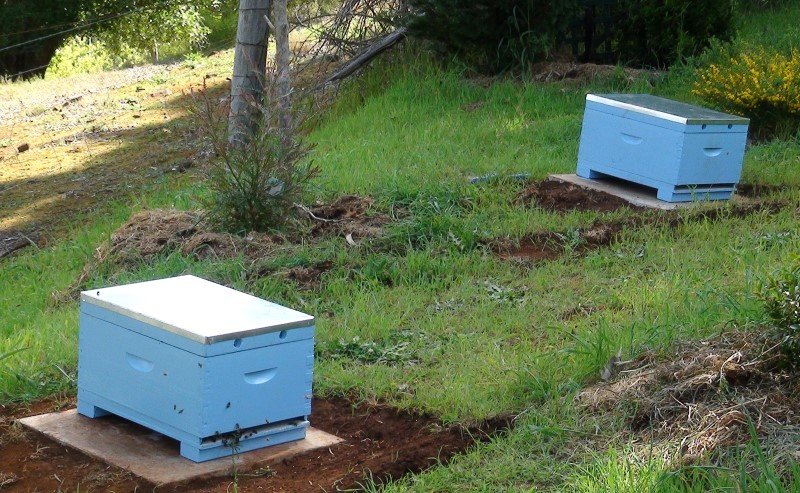
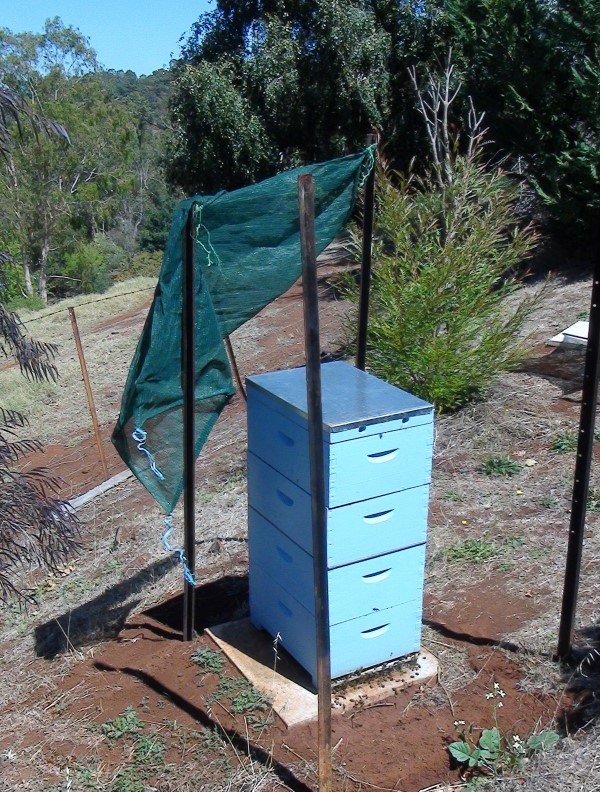
First hives in situ

Close up of brood box
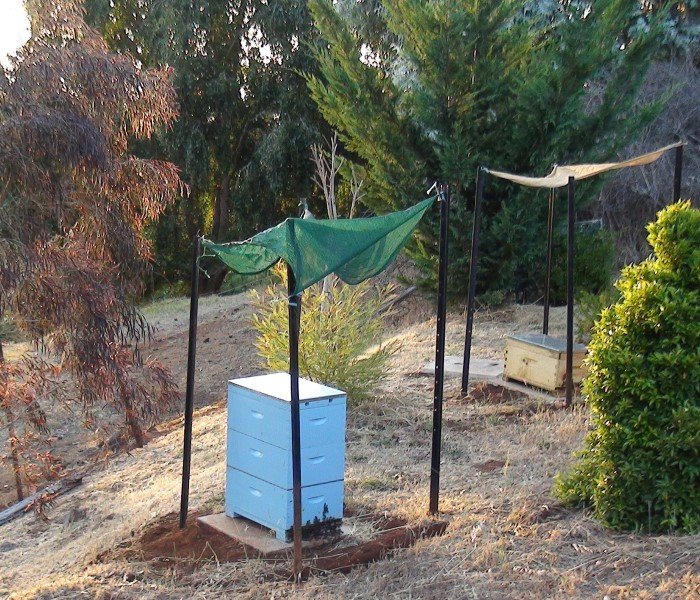
Three box hive shaded
2 brood & 2 honey boxes
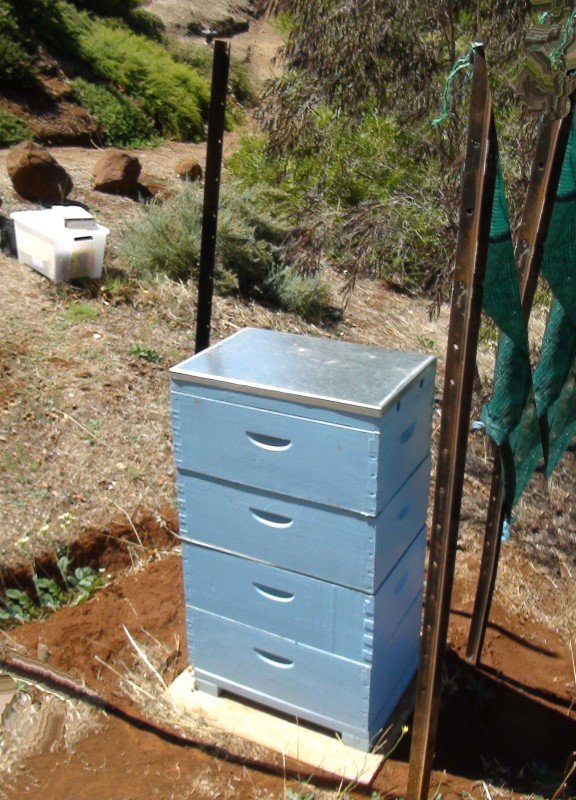
Four box hive
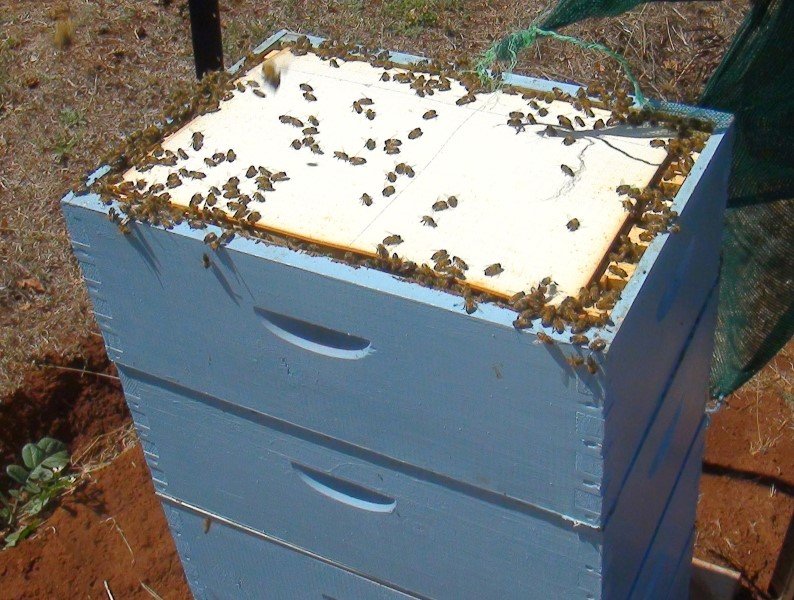
Hive with lid removed
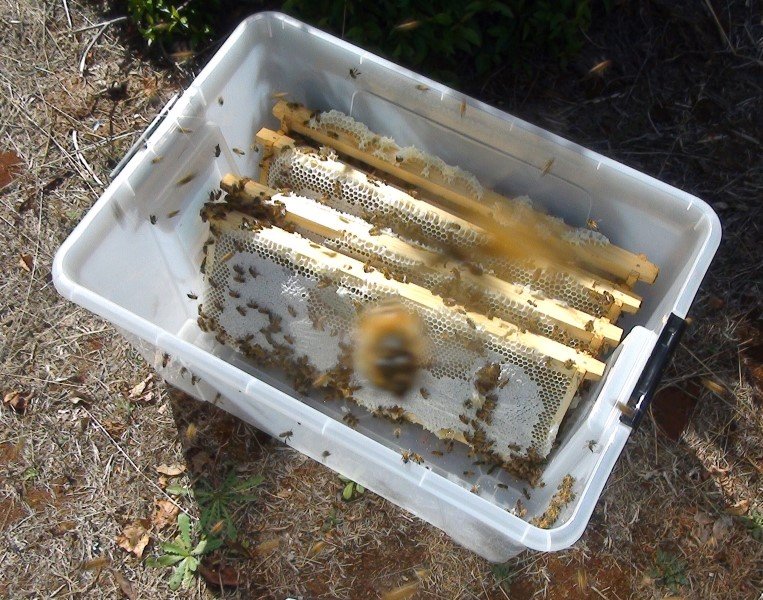
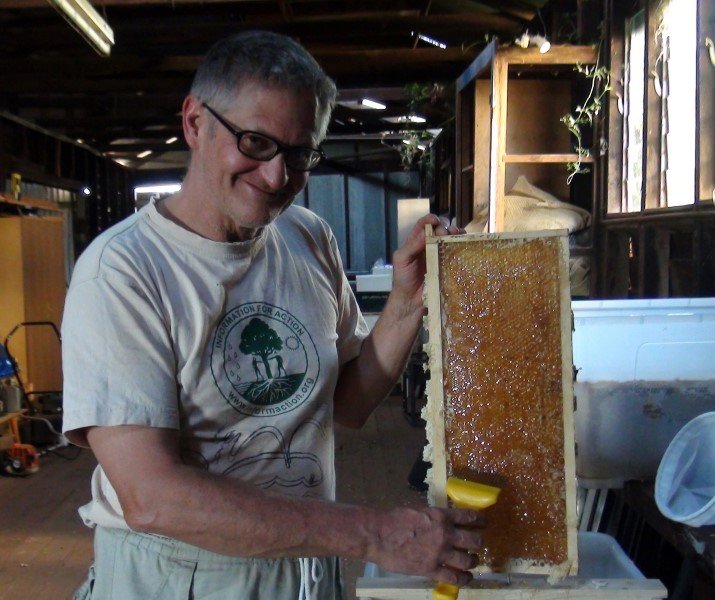
Capped frames of honey
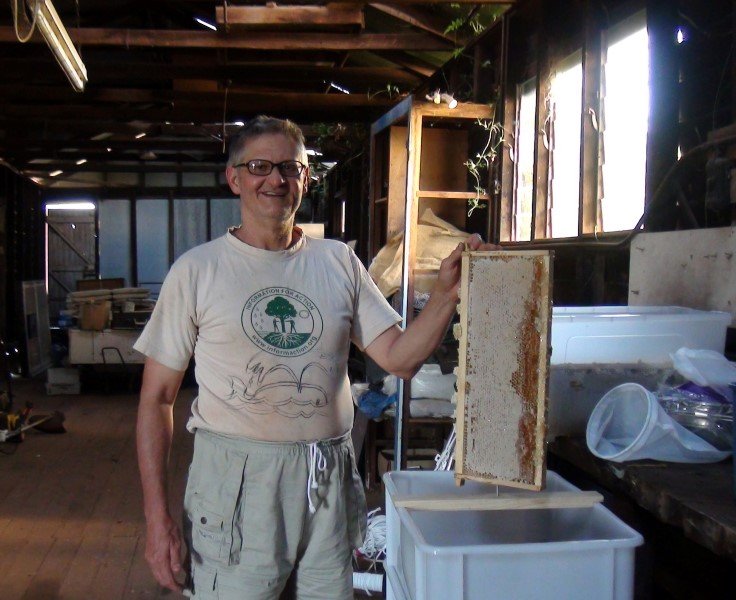
Holding frame
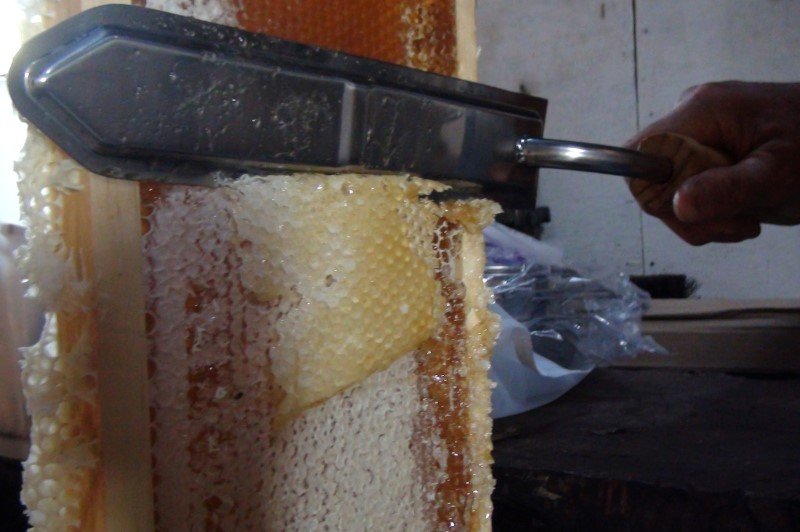
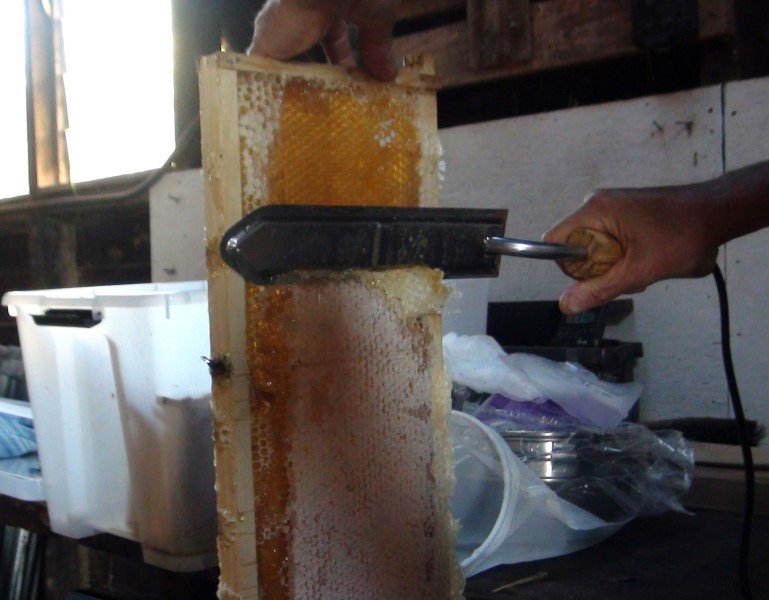
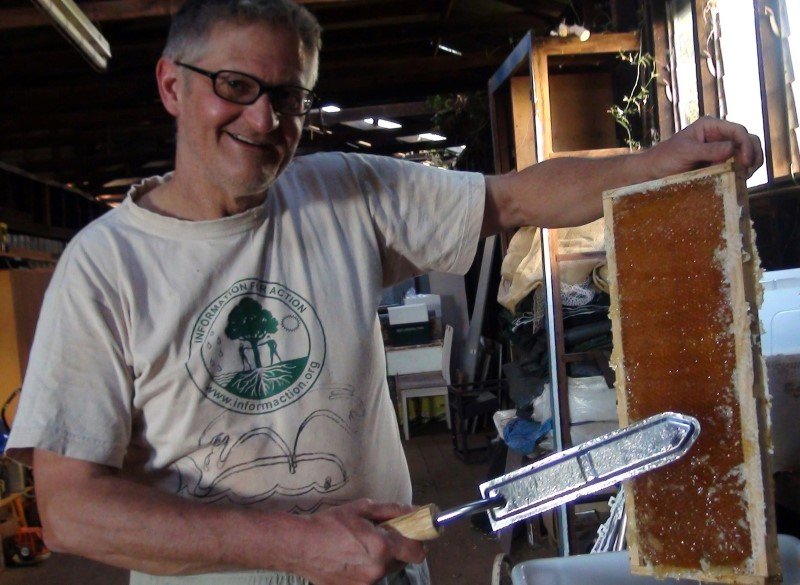
Removing wax coating
Removing wax with hot knife
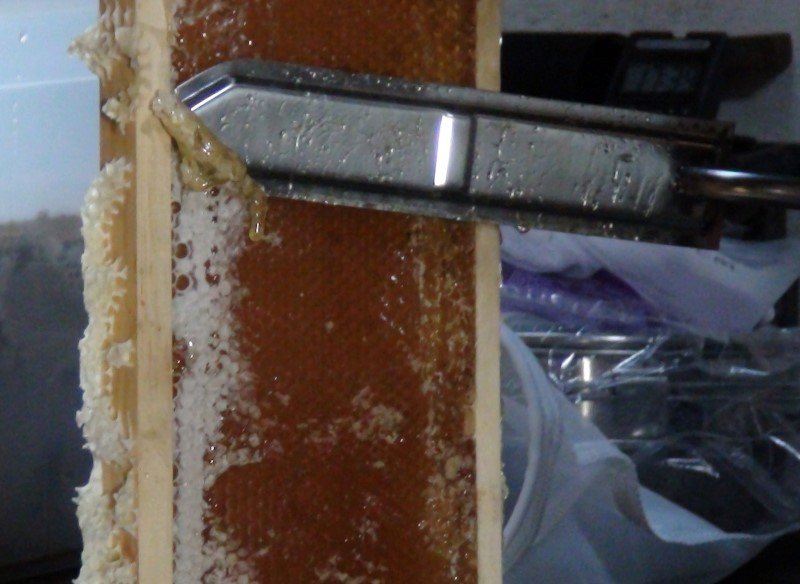
Removing wax layer
Scrapping wax capping
Frame with wax removed
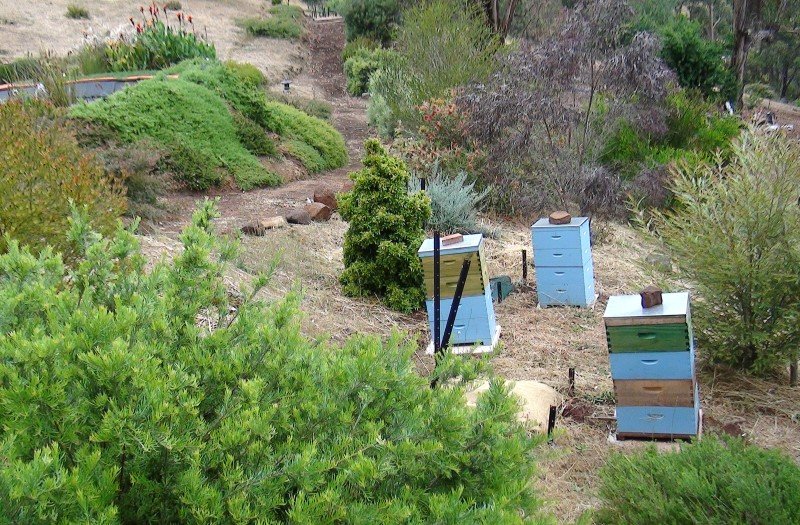
Hives in situ
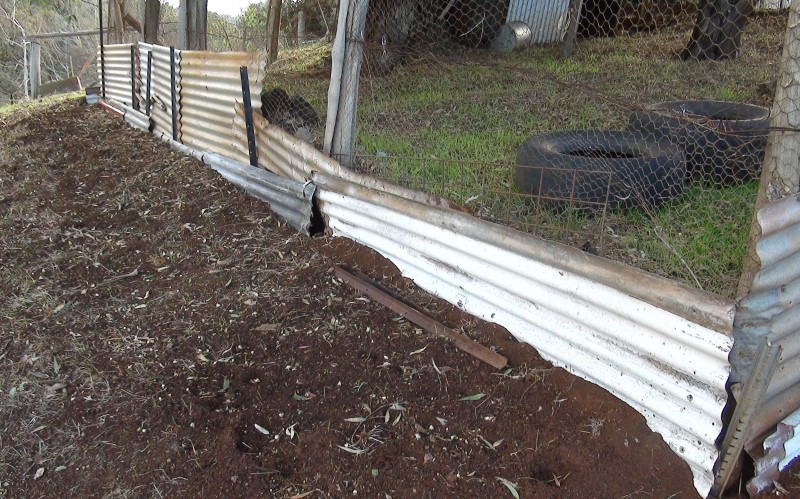
Fox proofing the chicken pen
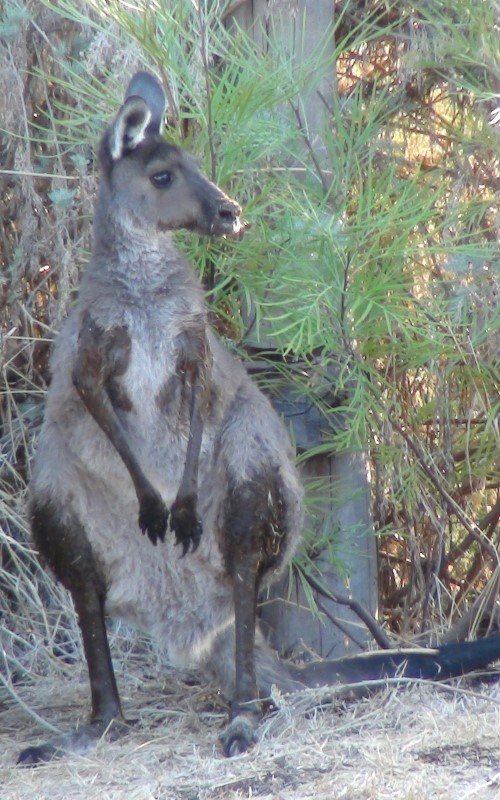
Western gray kangaroo
Large Native Trees
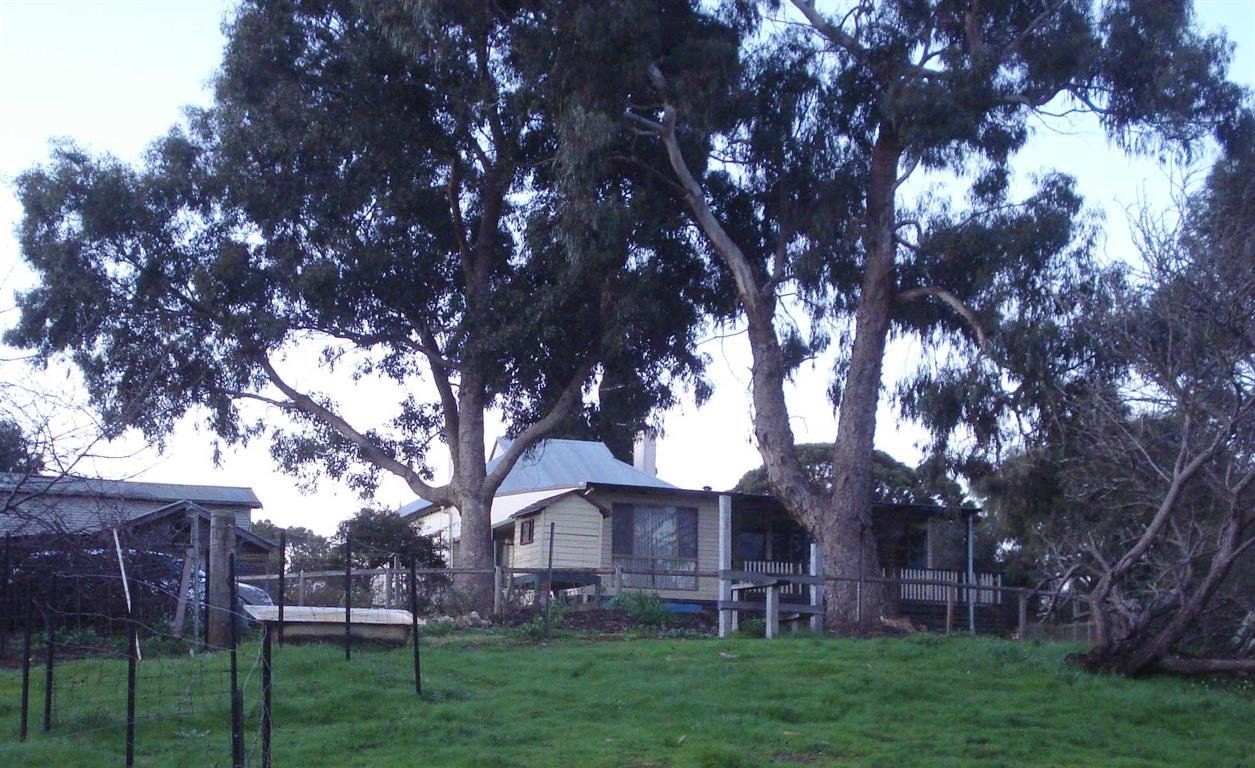
When I moved to Bridgetown there were six large trees in the garden behind the house. Four were in the top garden near the
house and two where in the middle garden overhanging the hillside. They had maintained soil stability on the hillside
for years.Two of the trees were badly chosen. They were the wrong size, wrong species and had been planted in the wrong
place. They were planted by previous owners of the house many years ago. One was a large Tasmanian Blue Gum. Both had
been planted dangerously close to the house. In a heavy wind large branches could come crashing down on the house. They
were also a fire hazard for the house. They cast a shadow over the hillside and on a south facing slope I needed as much
sunlight as I could get for my future orchard. It was bad for the environment to log two trees but for safety and practical
reasons the trees were removed. Plus the timber products were very useful for the garden.
Produce from trees
I used the produce from the trees for a variety of functions. The leaves and smaller branches were turned into mulch and
stored and later used around the new fruit trees. Sawdust from the mulching process was used on the pathways to stop them
getting muddy. The bark was used as mulch on the bog pond. It looked good and helped keep the soil damp. Some logs were
cut into 6 cm slices and used as steps to get around the bog pond without getting wet feet. The logs were used as firewood
and the branches as kindling to start the fire in winter. The wood heated the house for many winters. Holes were drilled
into 10 small logs which were left around the garden as potential habitats for small animals. The tree stump remaining
from the White Gum tree was carved into a bird bath and allowed to regrow its branches for the birds to shelter in. I
used the tip of a chain saw to gouge out the wood and then I sealed the wood with varnish to protect it and enhance it
visually to become a work of art.
Irrigation and Power
Information coming soon.
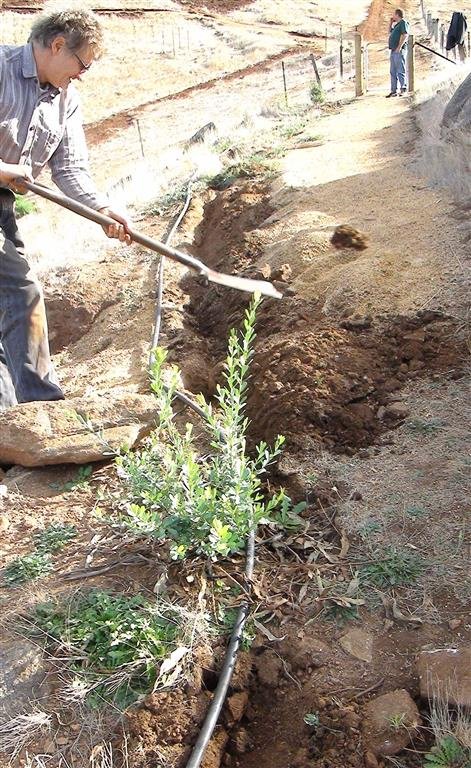
Bury Irrigation 1
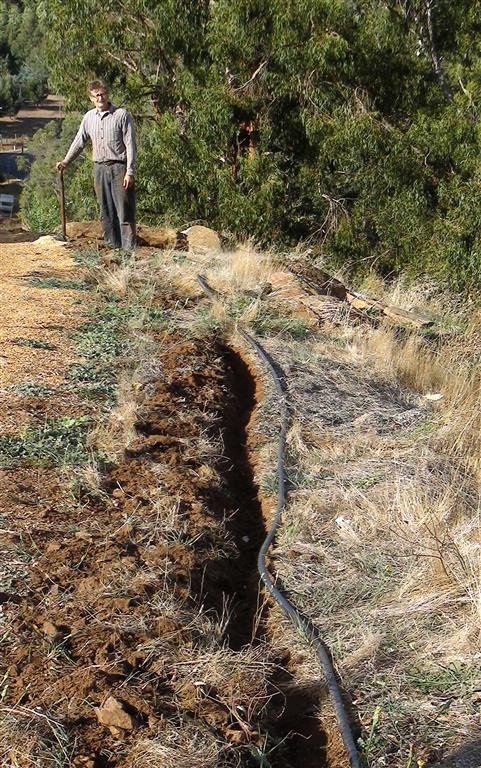
Bury Irrigation 2

Plastic Gutter 1
Plastic Gutter 2
Plastic Gutter 3
Plastic Gutter 4
Plastic Gutter 5
Plastic Gutter 6

Middle bottom garden 1
Middle bottom garden 2
Middle bottom garden 3
Pipe 1
Pipe 2
Pipe 3
Swales 1
Swales 3
Swales 2
Swales 3
Swales 4

Swales 5
Swales 6
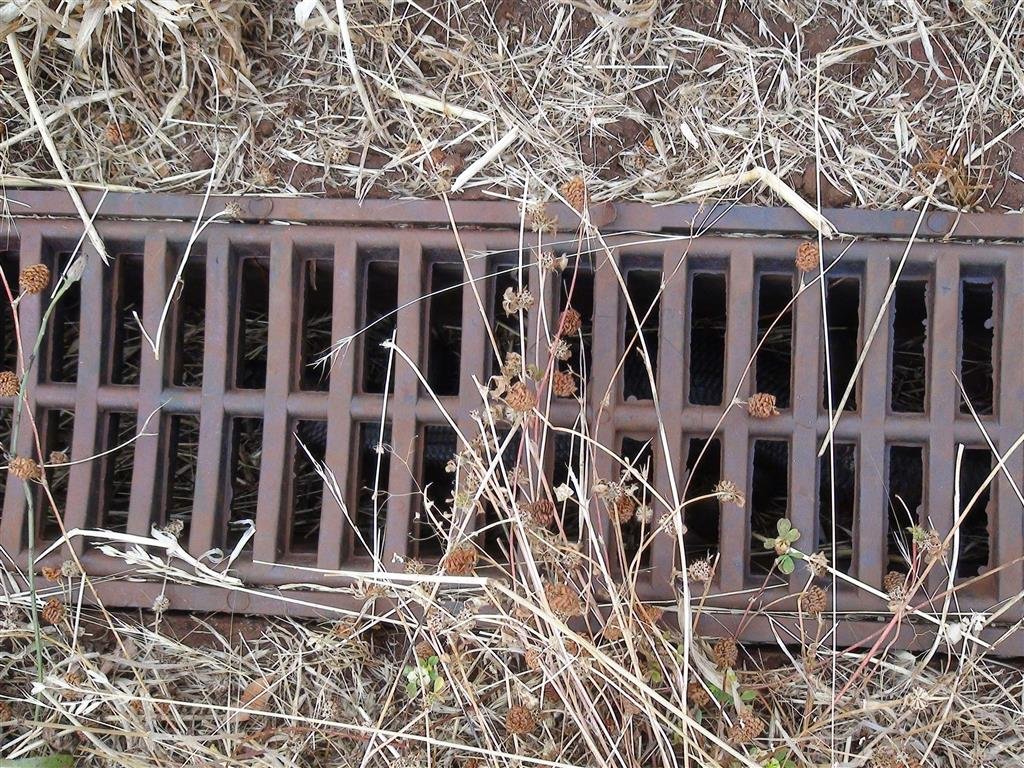
Grills 1
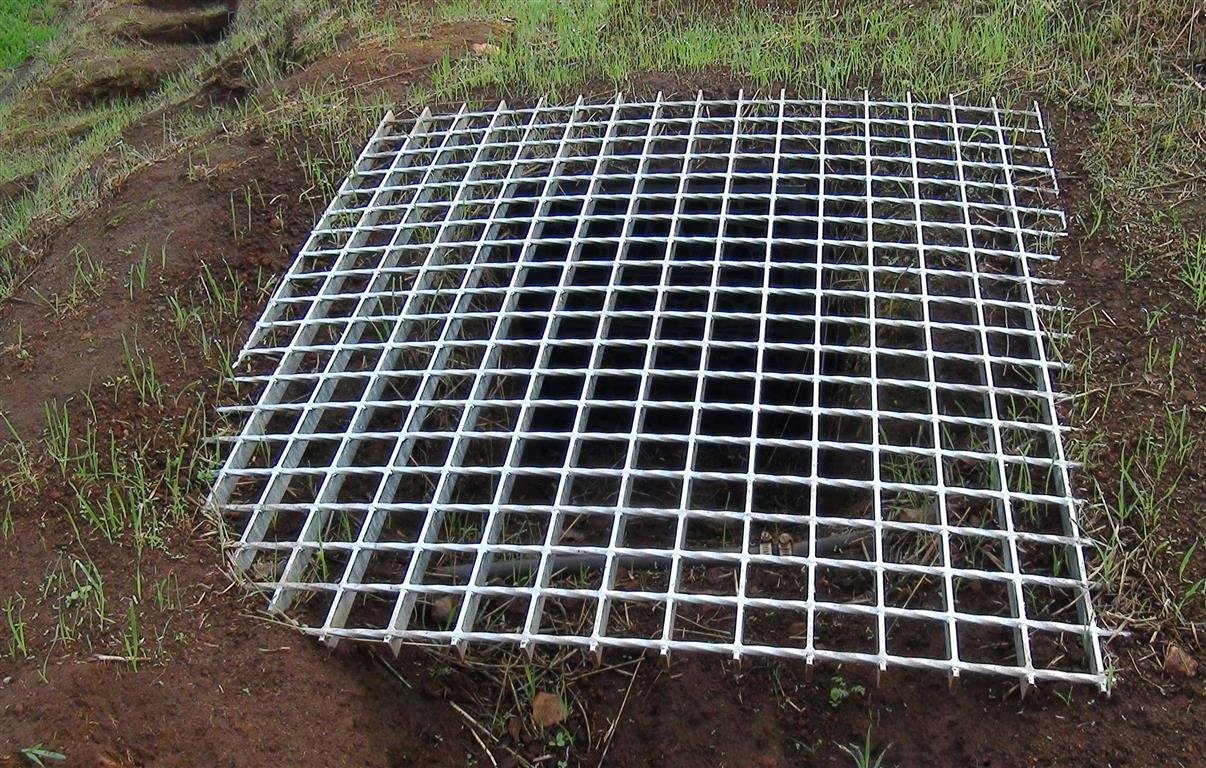
Grills 2
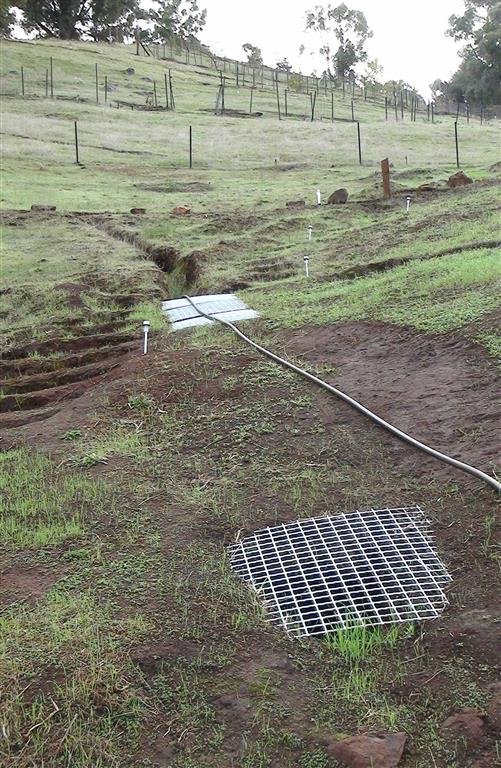
Grills 3
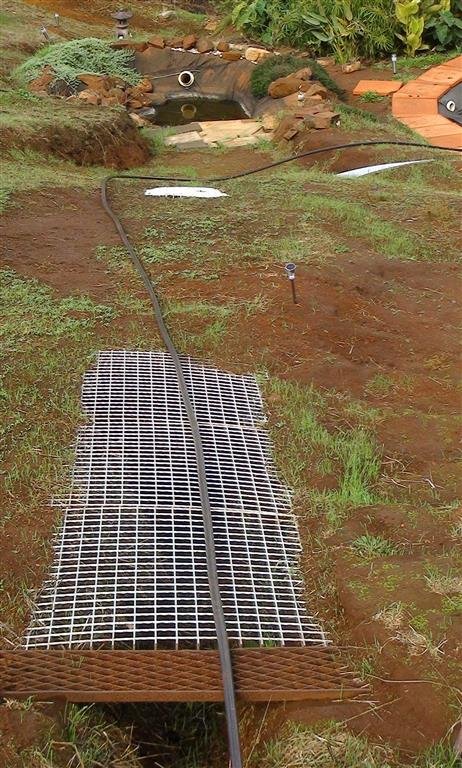
Grills 4
Final outlet pipe
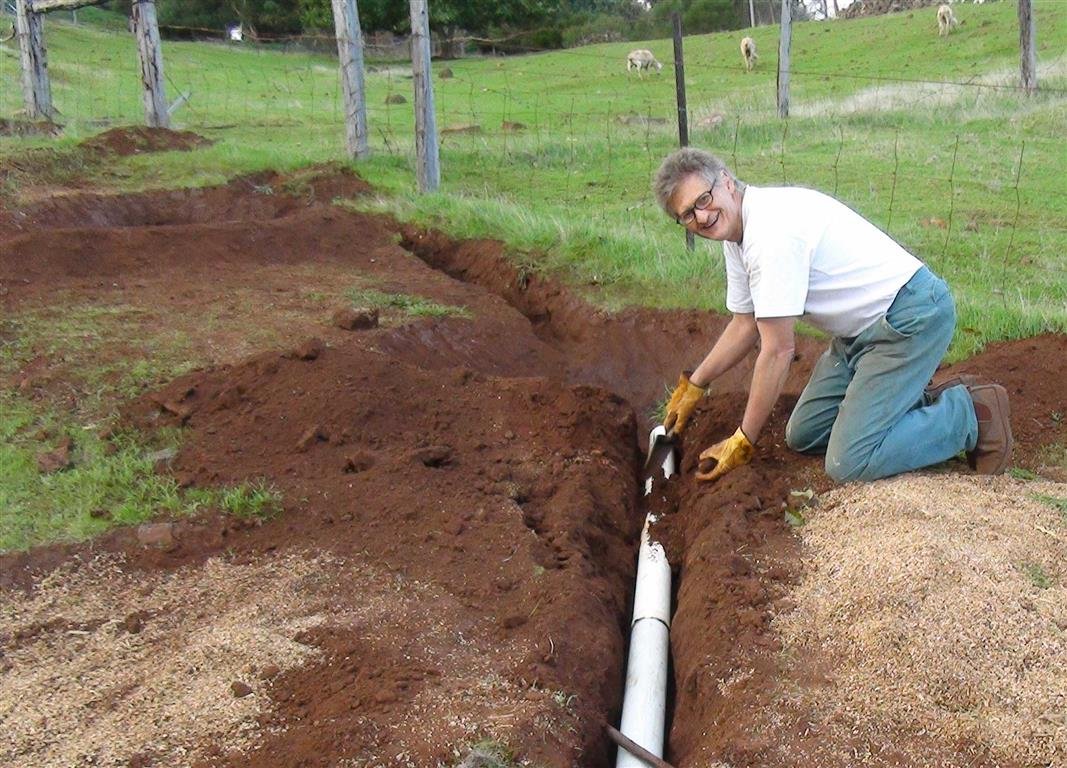
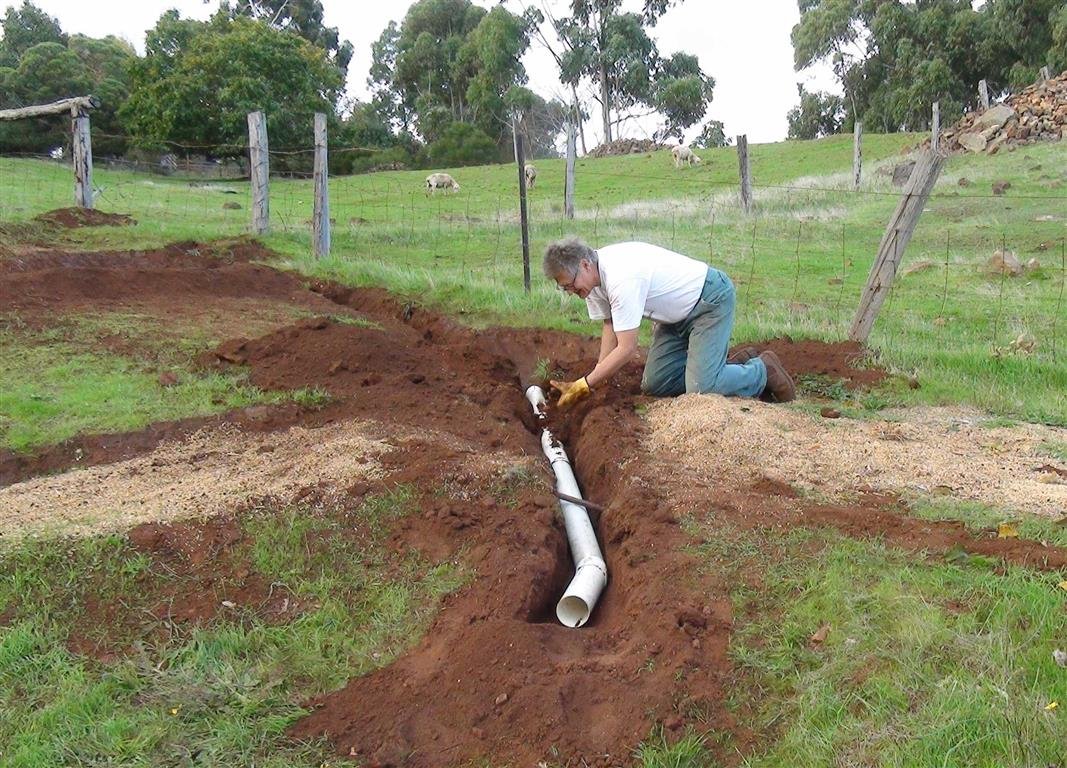
Bury pipe 1
Bury pipe 2
Bury pipe 3
Bury pipe 4
Bury pipe 5
Bury pipe 6
Grill to rock pool
Swales & channels 1
Swales & channels 2

Swales & channels 3
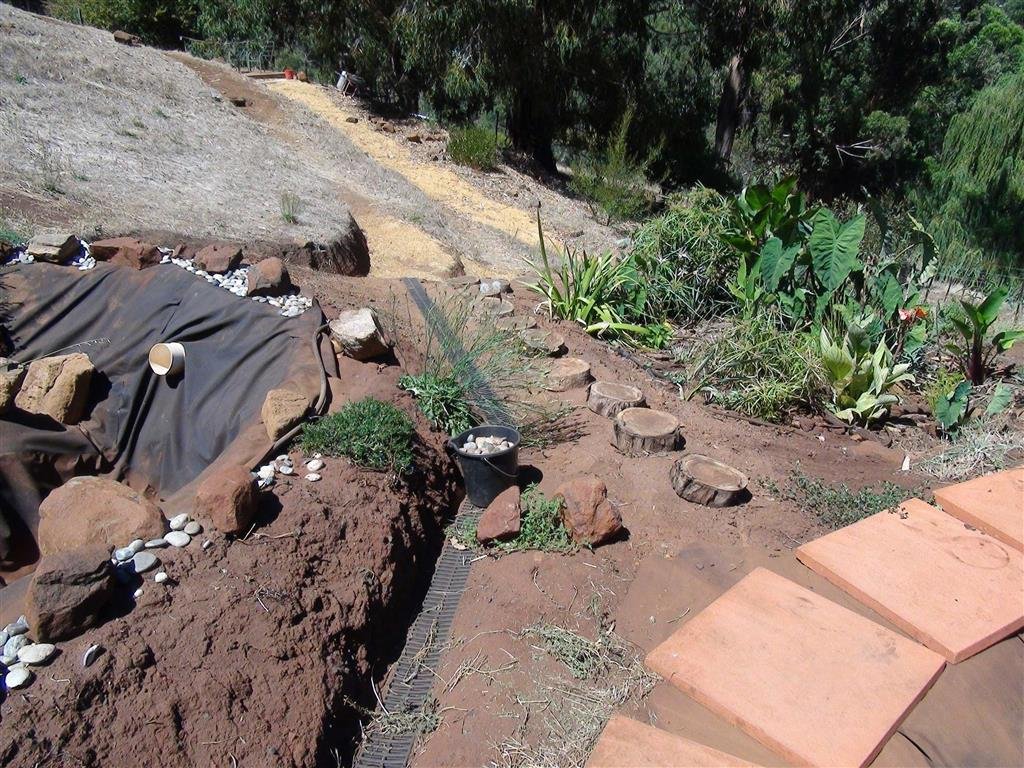
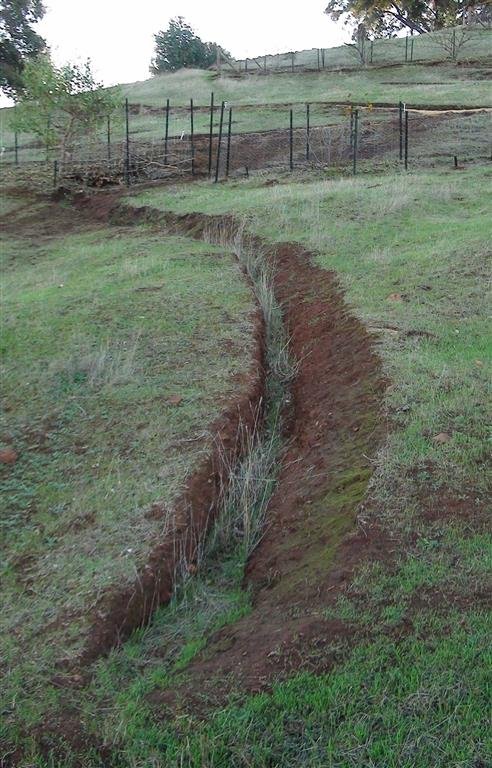
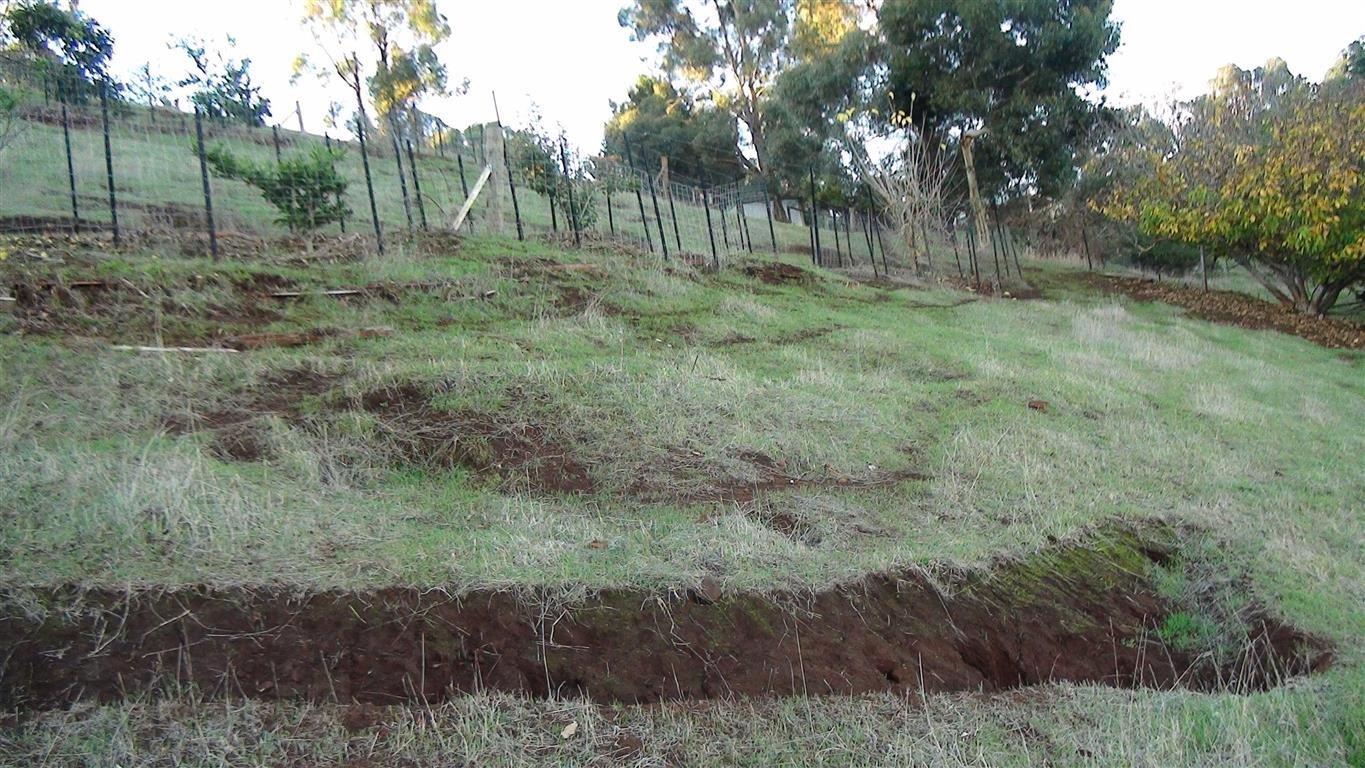
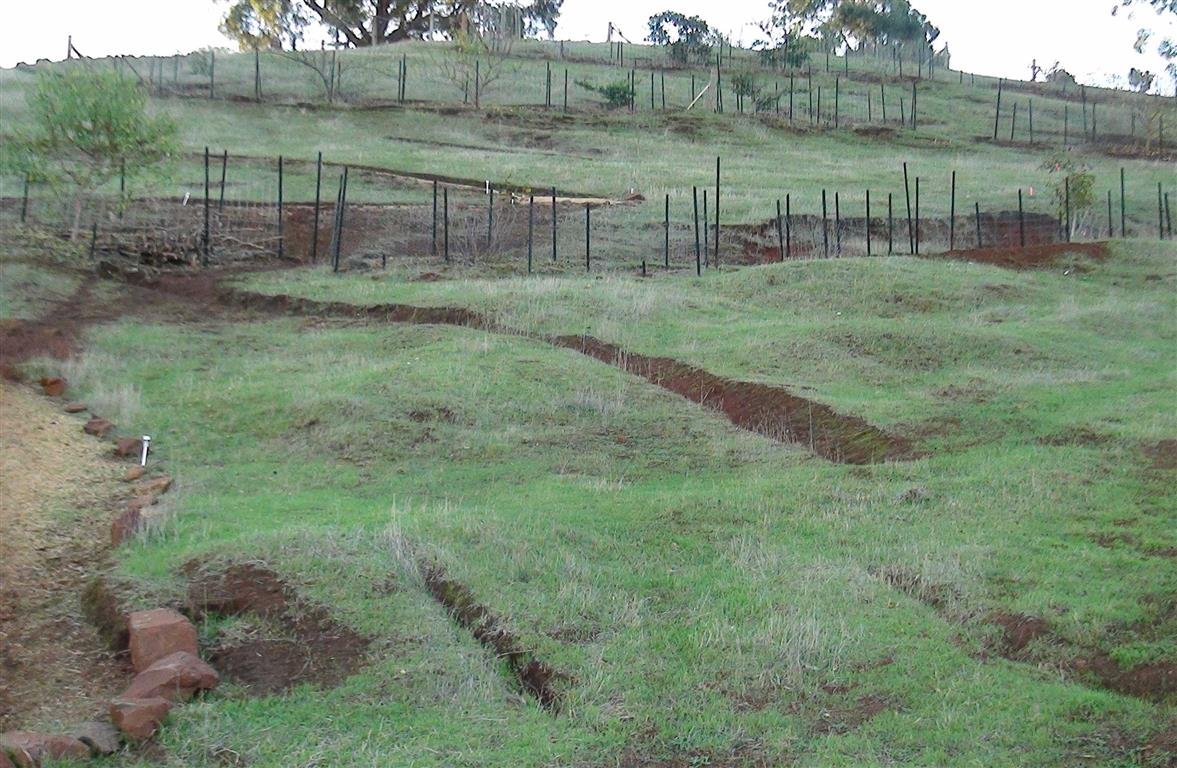
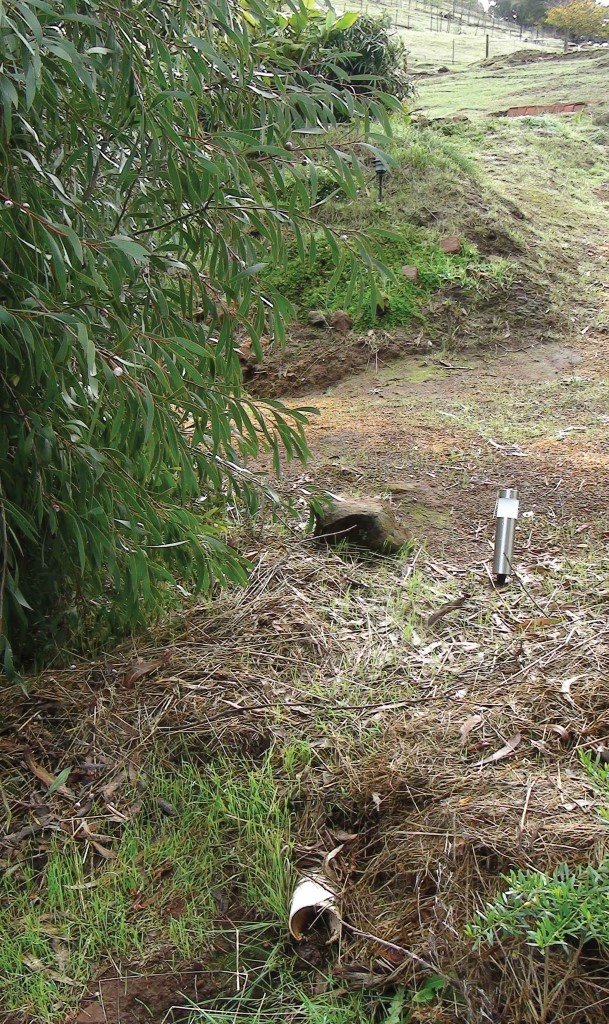
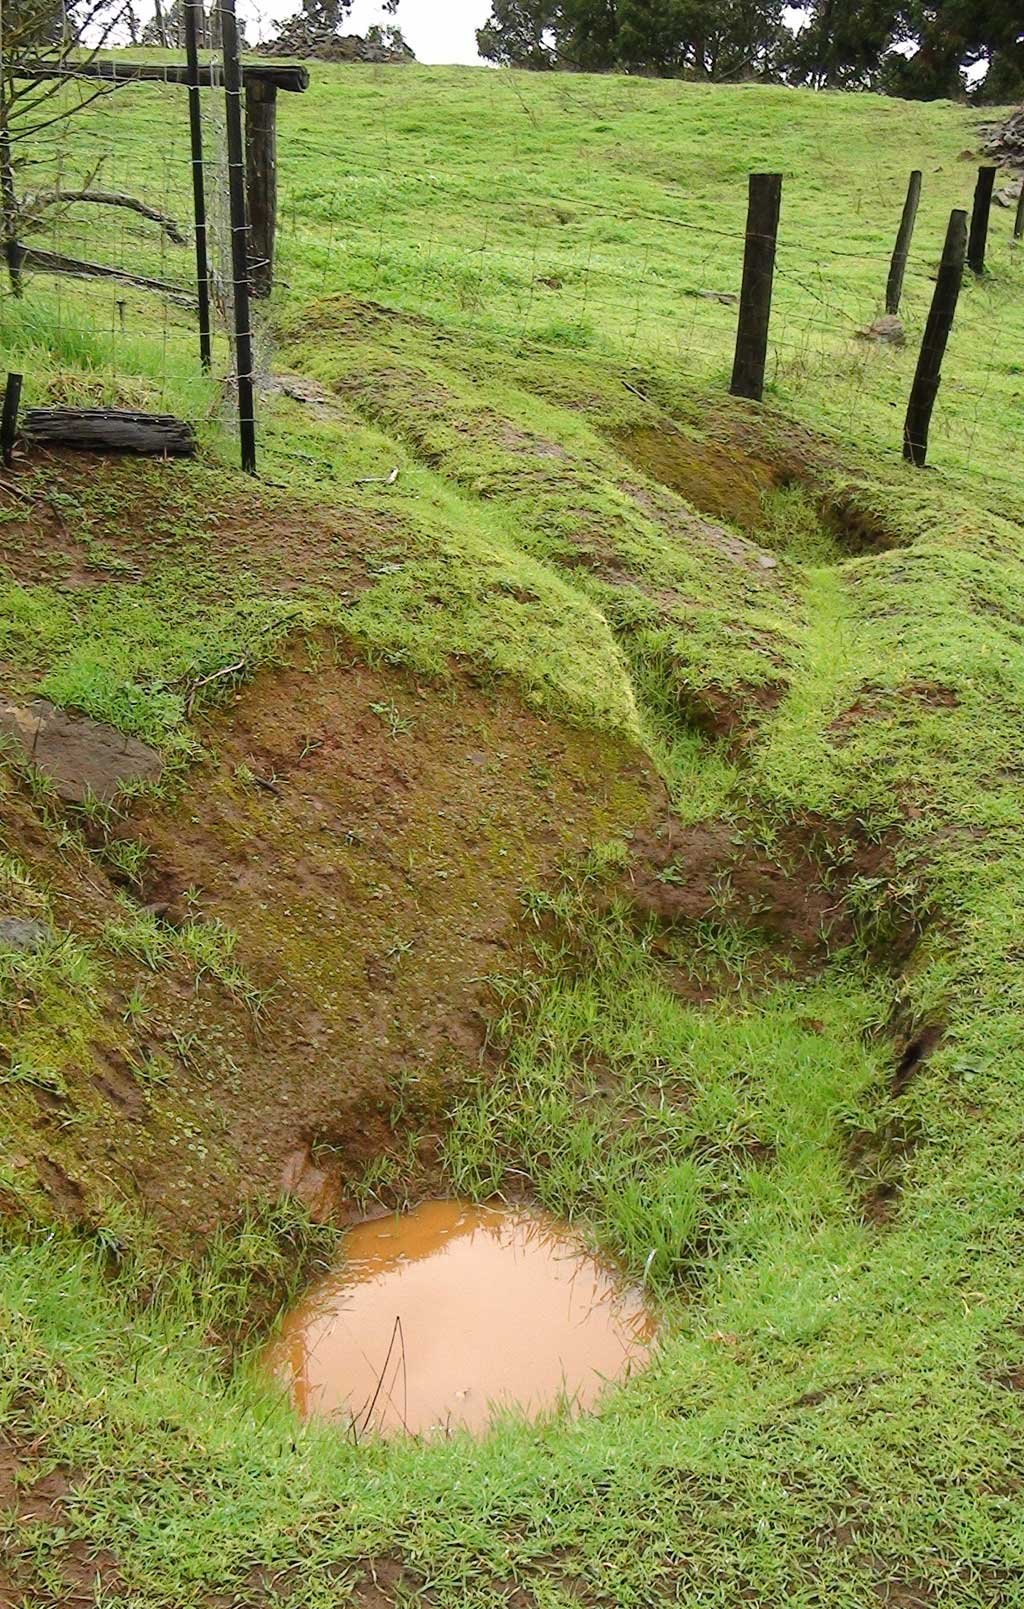
Erosion control
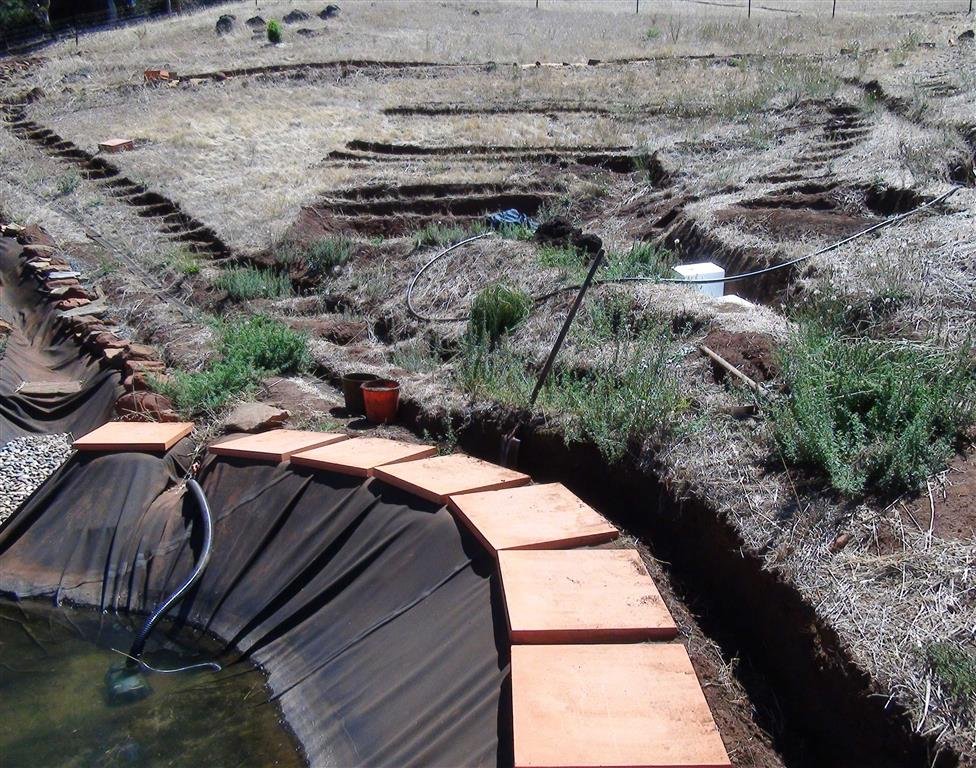
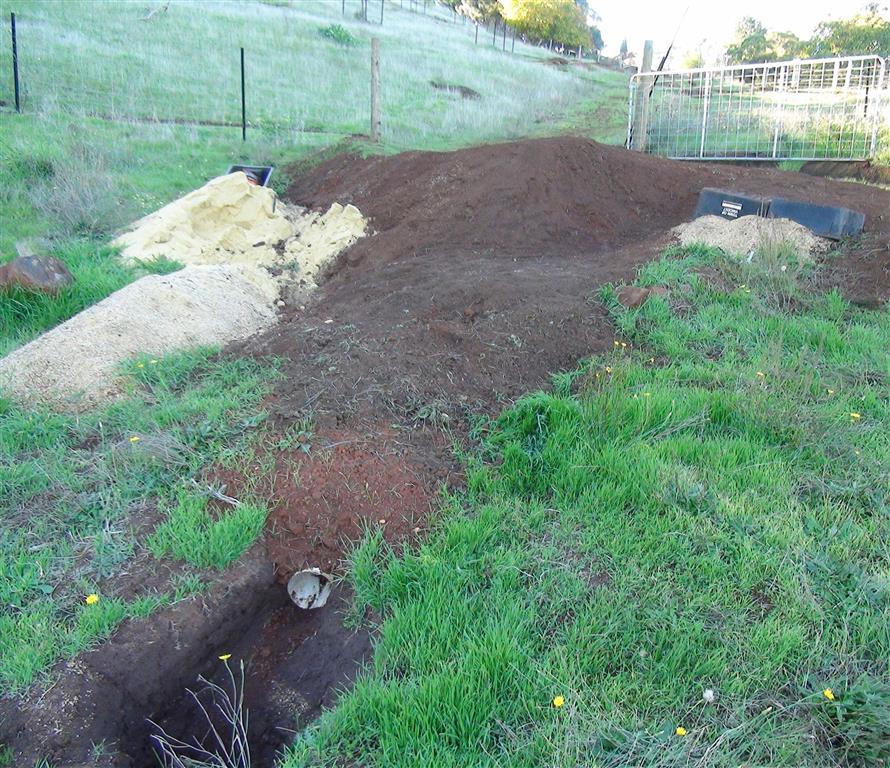
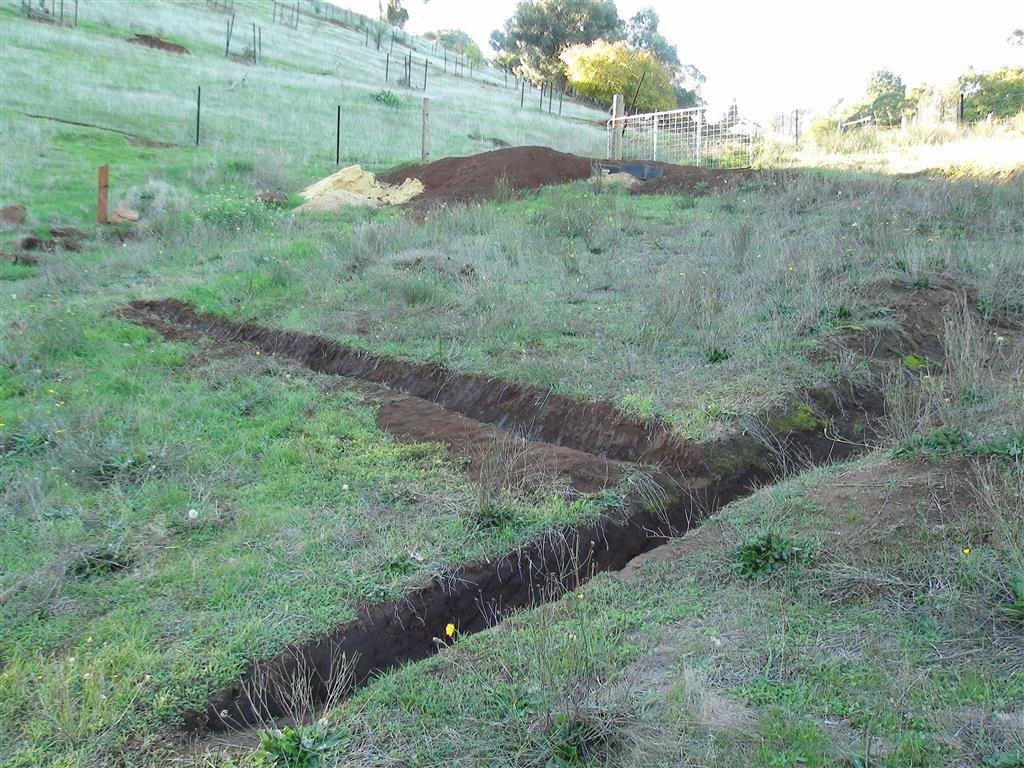
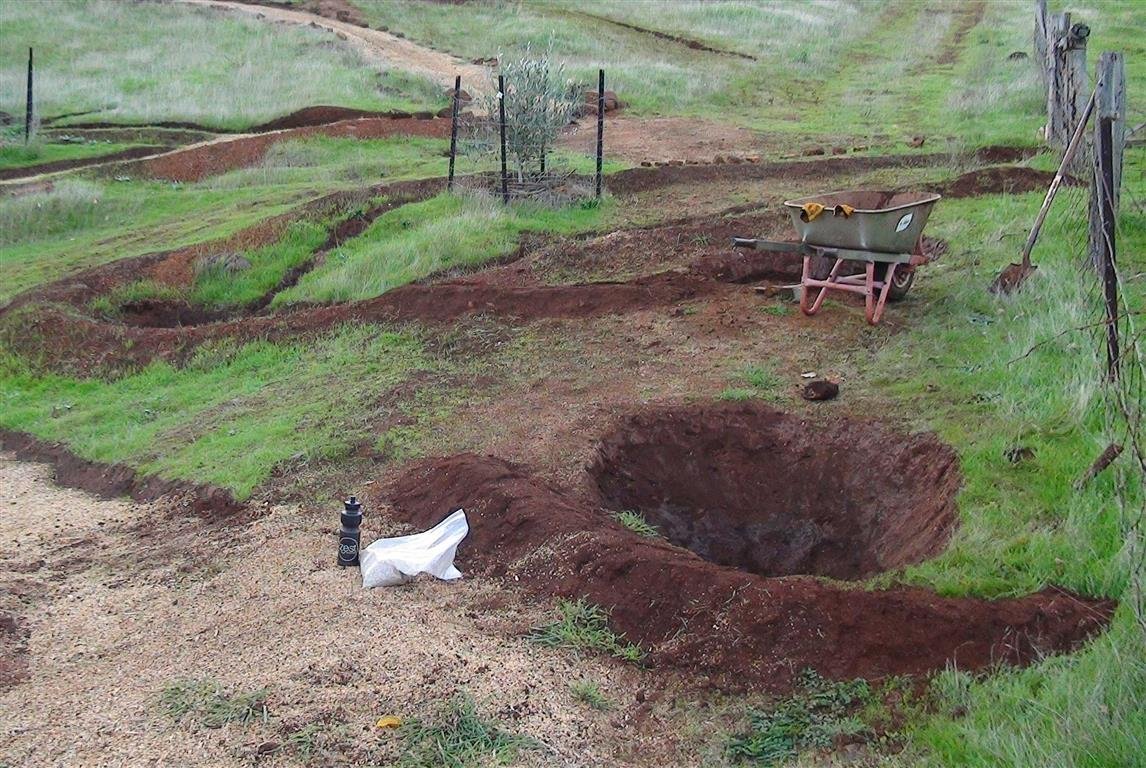
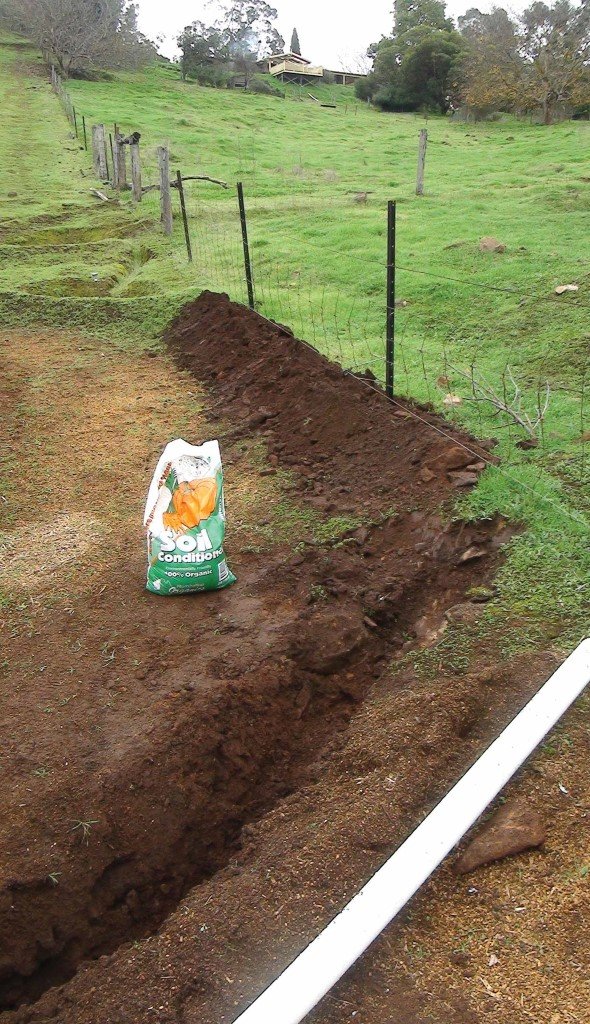
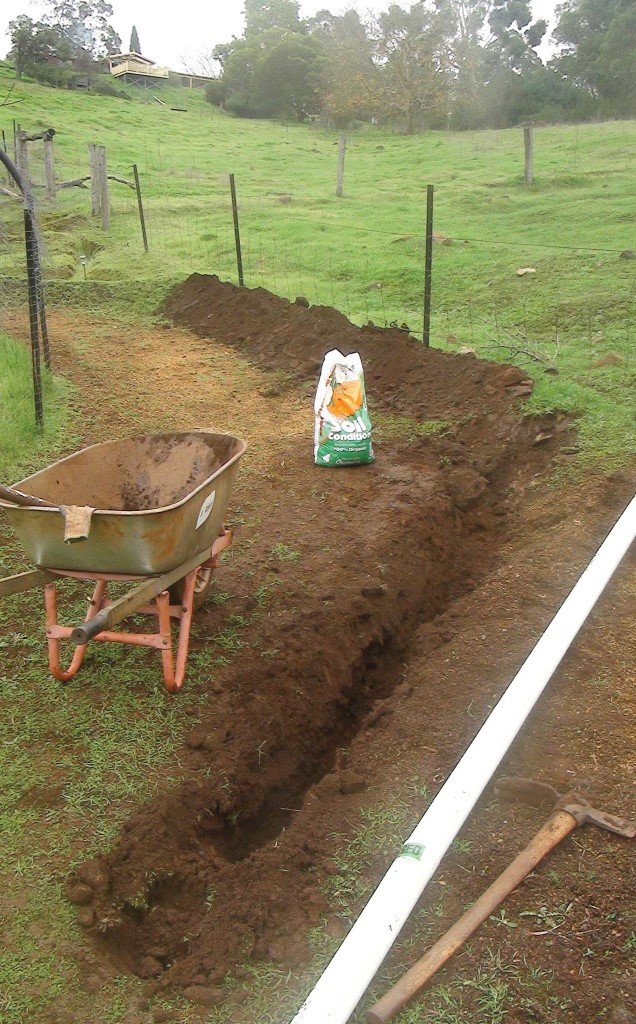
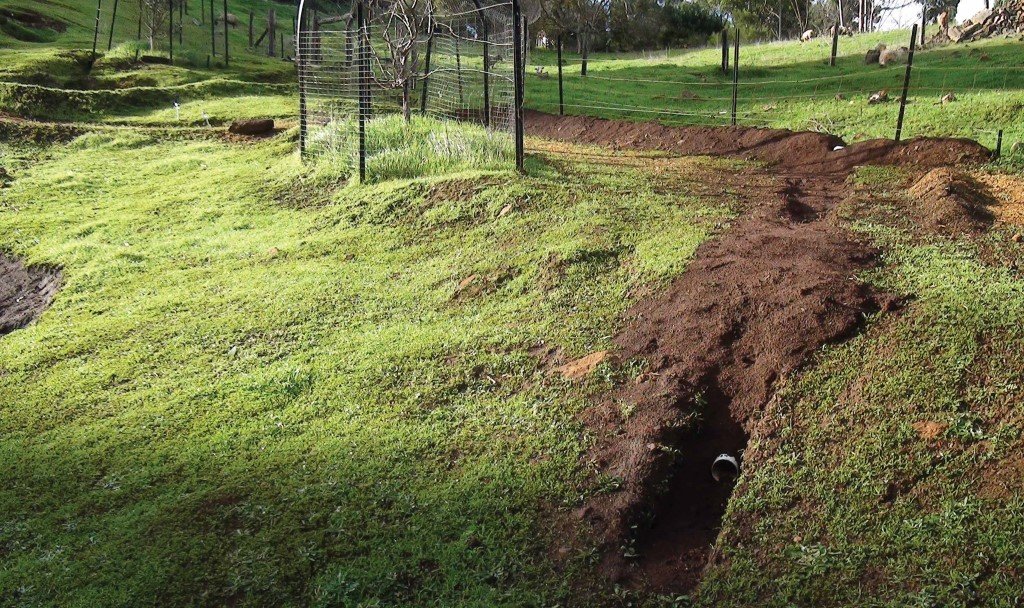
Above each tree and at key points down the hillside I dug shallow depressions or channels into the ground to catch water
that came down the hill during heavy rains and direct it toward swales, holes dug into the ground which collected the
water. The swales vary in size from small ones situated directly above the fruit trees to larger ones at the bottom of
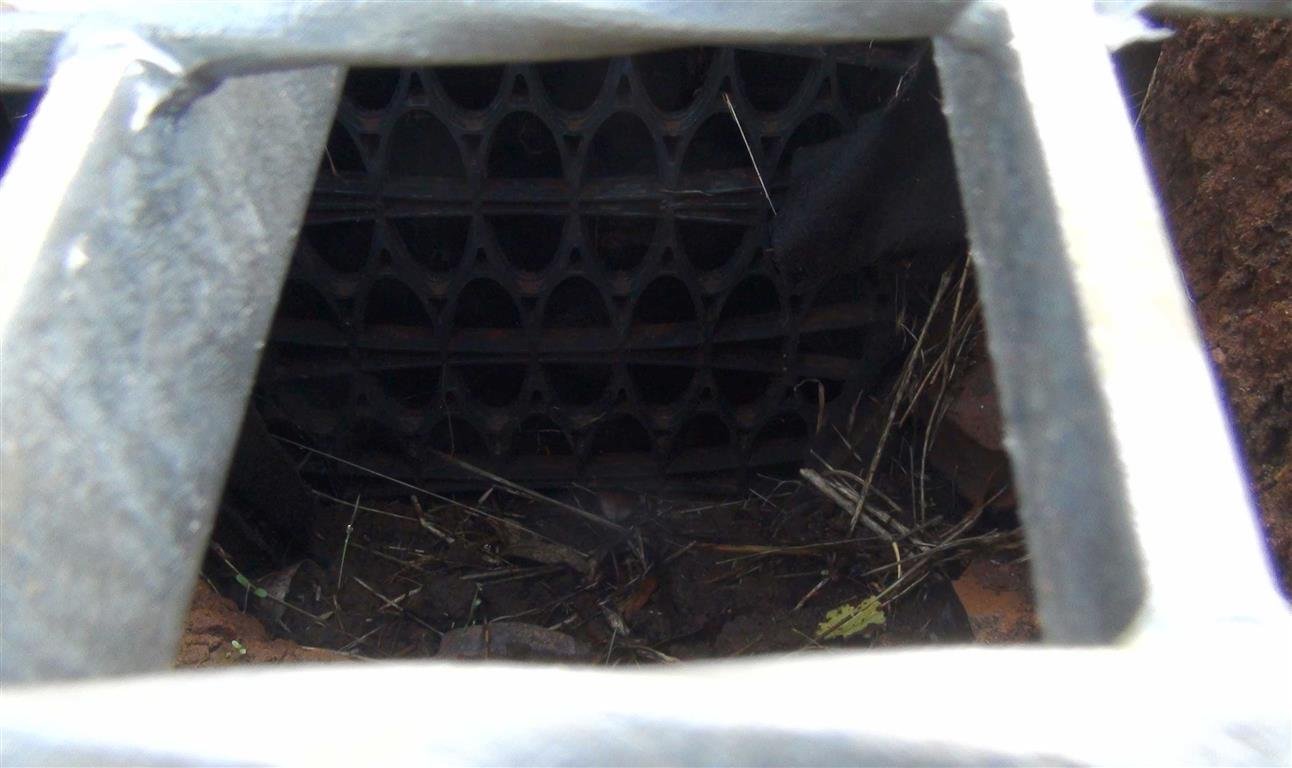
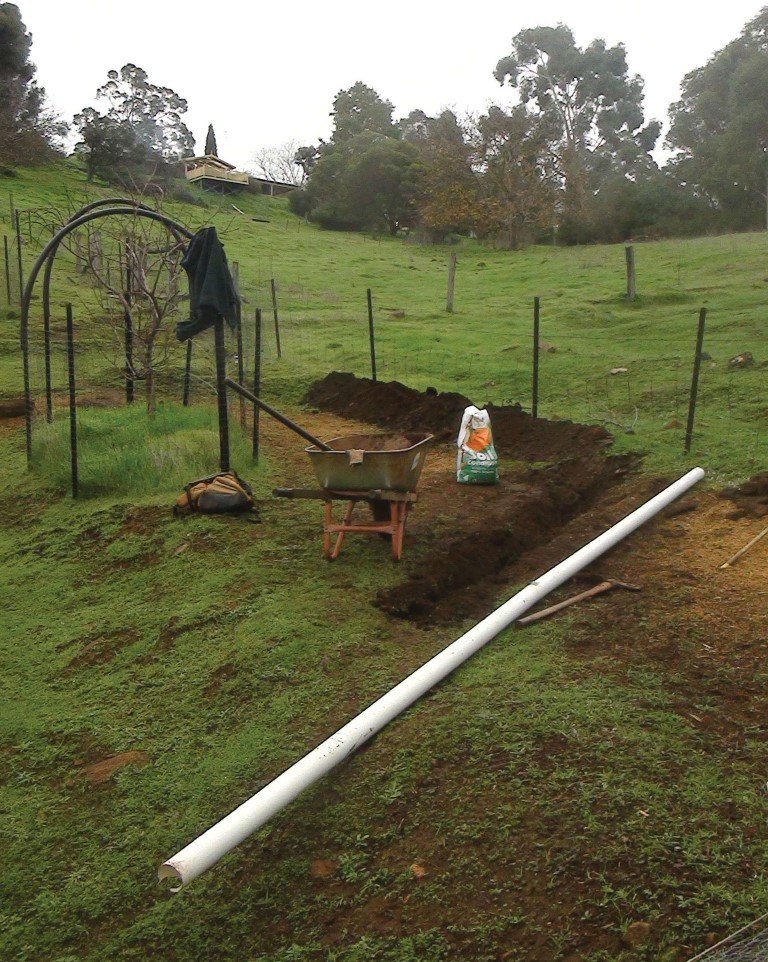
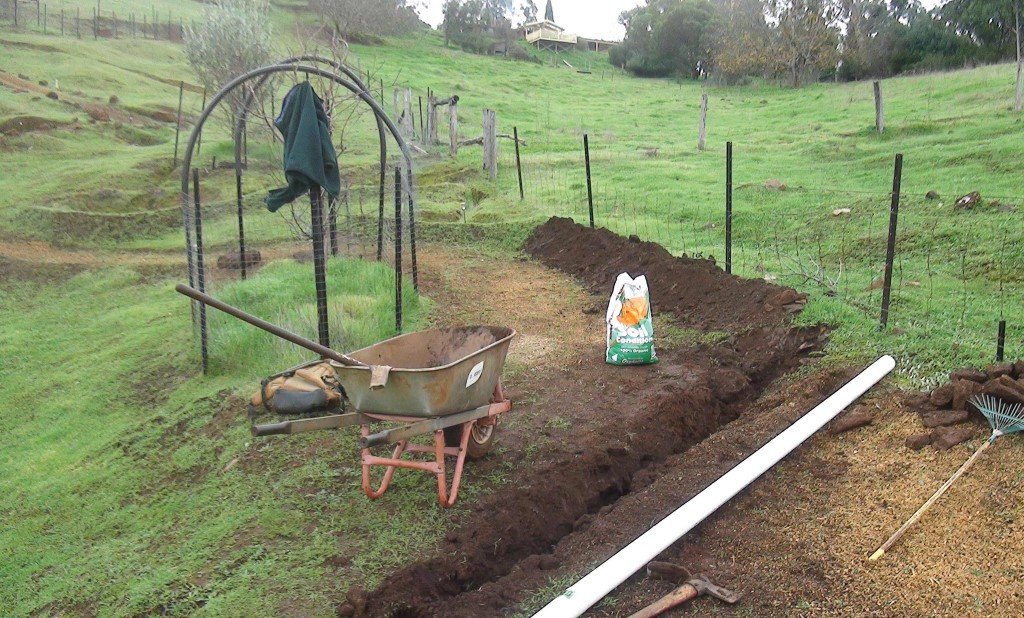
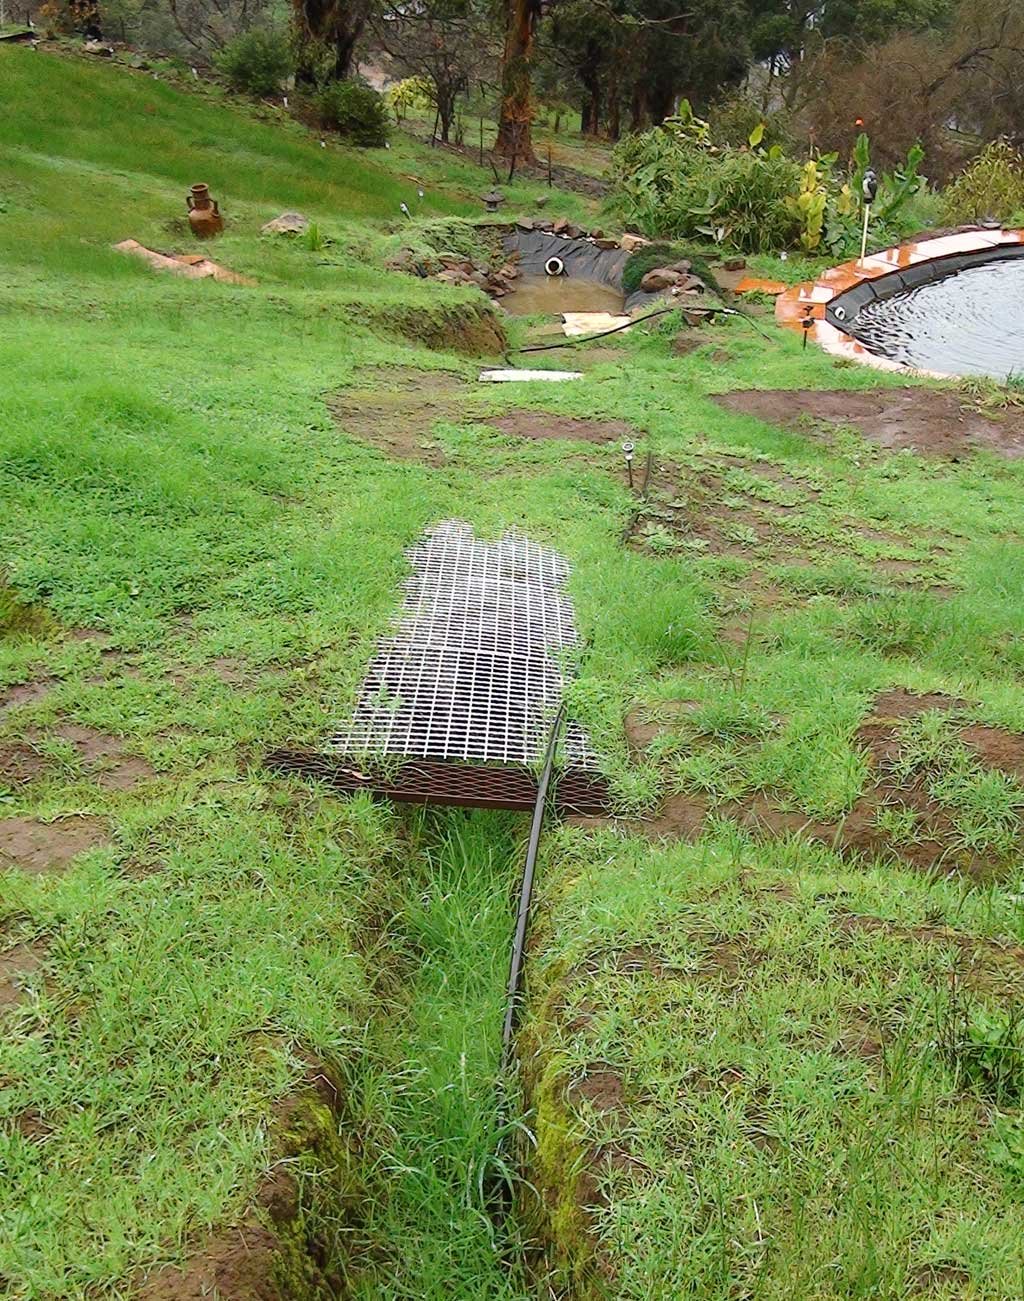
the hill where most of the water collects. Some of the swales had pipes built into them to allow water to escape when
they become full. The pipes went under the sawdust pathway to prevent the sawdust from being washed off the path and down
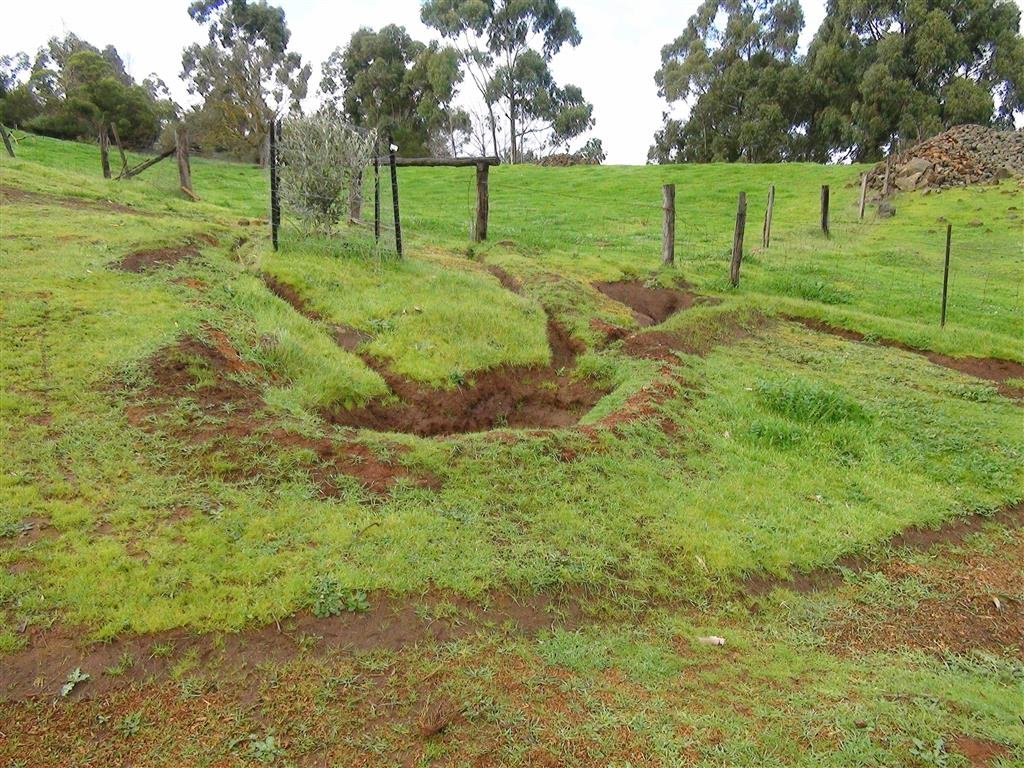
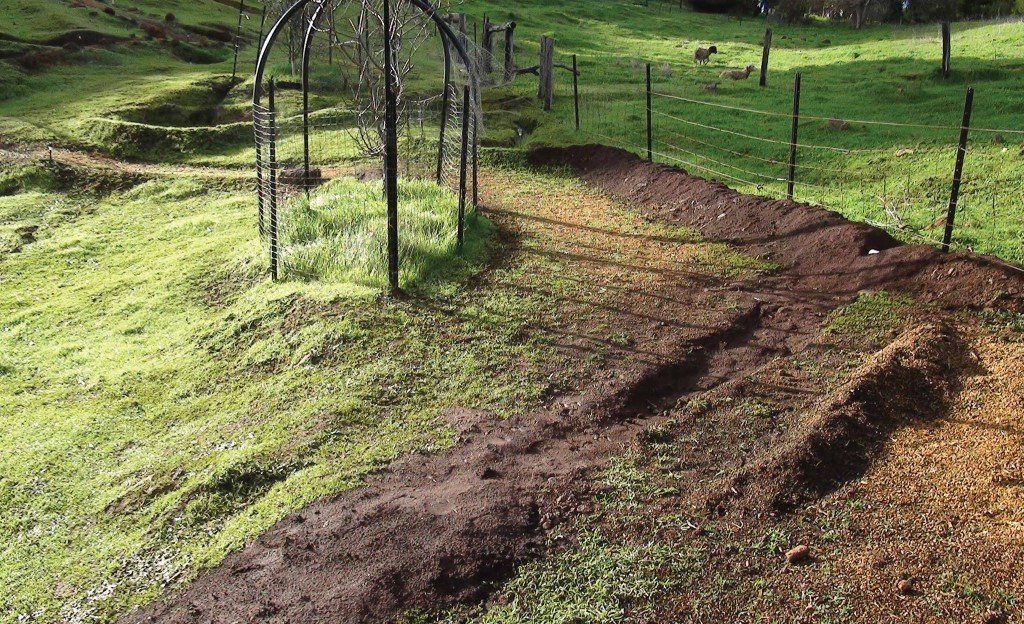
the hill during heavy rain.The swales manage water run-off and increase rainwater infiltration. They do this by collecting
the rain water and slowly releasing it to the trees or in a more controlled way down the hill. By slowing down the speed
of rainwater swales help reduce soil erosion and reduce damage to the path and structures at the bottom of the hill. While
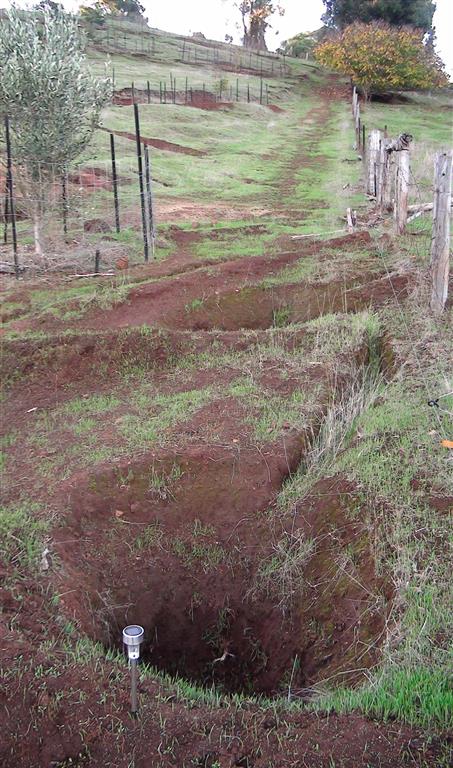
most of the channels function to direct water into swales for temporary collection some of the channels slow the water
flowing down the hill by taking it down the hill obliquely sideways in a zigzag fashion. By spreading water horizontally
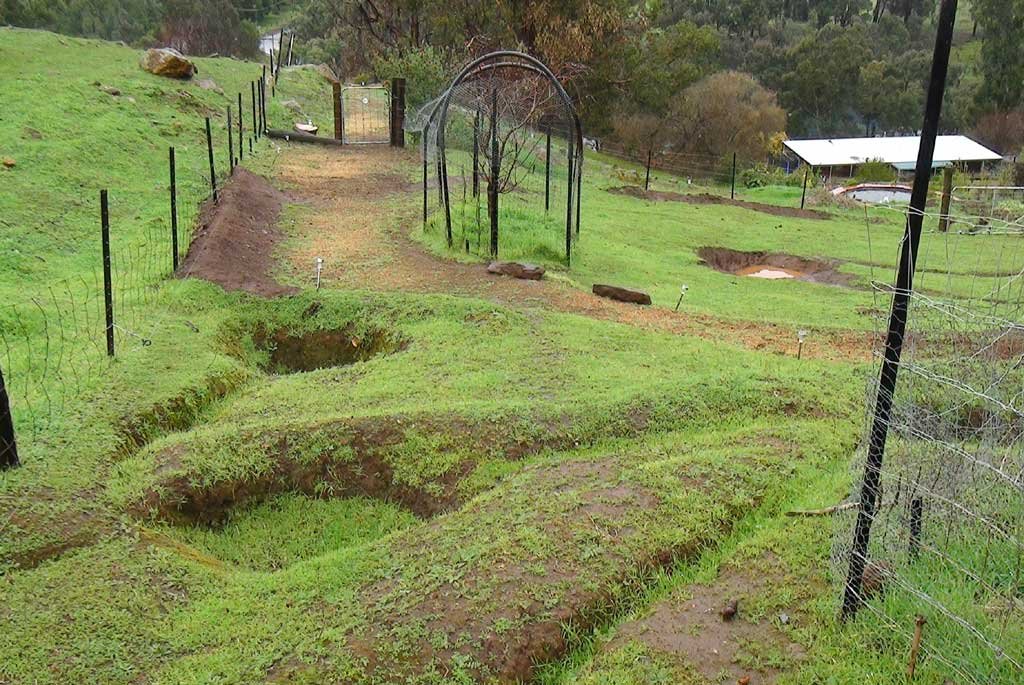
across the landscape and along the contour line they also facilitate runoff infiltration into the soil.A dangerously heavy
rainfall may happen only once every five, ten or twenty years. Whatever the frequency it is important that I am prepared
for it. When rain falls on my hillside it moves with ease down the access road running down the east side of my garden
and from my neighbour’s property which is the shape of a natural valley pointing directly towards my garden. A heavy rain
will produce a sizeable body of water coming down the hillside. Reducing water flow and speed may prevent serious damage
to the ponds and reduce erosion. Water management involves building infrastructure that slows the speed of water flow,
directs it away from vulnerable structures and allow it to safely leave my property.
Painting the boxes
Bee keeping
Whole garden
The Garden
The hillside is covered in large and small rocks and a mixture of hardy grasses. The grasses could withstand months of drought.
On average it rained for about six months and the grass was green and for the other six months of the year there was
no rain or very little rain and it was hot and dry and the grass was brown.
Division
When I arrived on the property it was essentially made up of two areas – the top garden and the hillside. The top garden
was about a quarter of the property and contained the house, shed, lawn, and mixed native plants and non natives like
roses, conifer trees and rosemary hedges and a variety of trees. The hillside was about three quarter of the property
and contained some large gum trees, a wide area of grass and some rocks. I divided the property into three parts –
top, middle and bottom gardens. In my plan the top garden would remain the same as we inherited it except for the addition
of a vegetable garden, berry bushes and dwarf citrus trees. The hillside was to be divided by a fence into the middle
garden, containing an orchard, access road and zigzag pathway and the bottom garden containing a natural area The middle
garden is about half of the total property and the bottom garden is about a quarter. All the fruit trees in the middle
garden and the entire bottom garden are fenced off against sheep. A 3 metre fire break around the edges of the property
is included in the design.
Access
There are no trees down the eastern side of the garden and that made it the obvious place for an access road for a 4 Wheel
drive vehicle. This is the most direct way up and down the hill and I considered putting steps down the side of the
access road. But it is very steep here and I decided that a more leisurely route up and down the hill would be better.
So I decided on a zigzag pathway predominantly down the western side of the garden. The zigzag sawdust pathway starts
at the beginning of the middle garden and because it is relatively flat at the top of the middle garden it goes straight
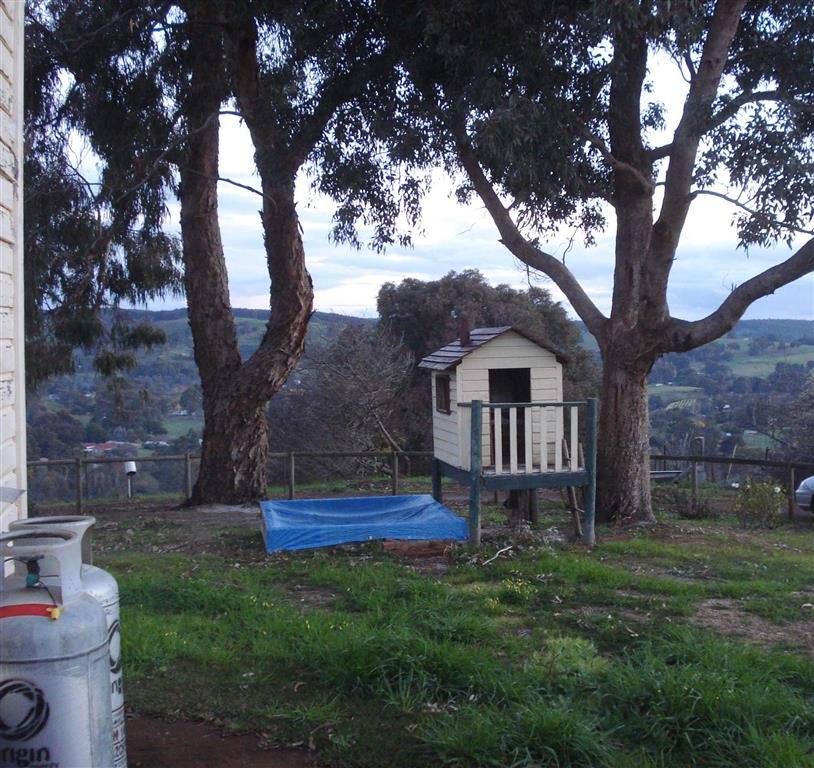
down the hill and past the chook pen. After the chook pen the hillside drops steeply and so the path has to take a
zigzag course down the west side of the garden. At the little ‘cubby’ house under the large white gum tree the path
crosses from the east side of the garden towards the west side, then zigzags around the nut trees to eventually arrive
at the east fence. It passes down the east side of the garden and through a gateway into the bottom garden and after
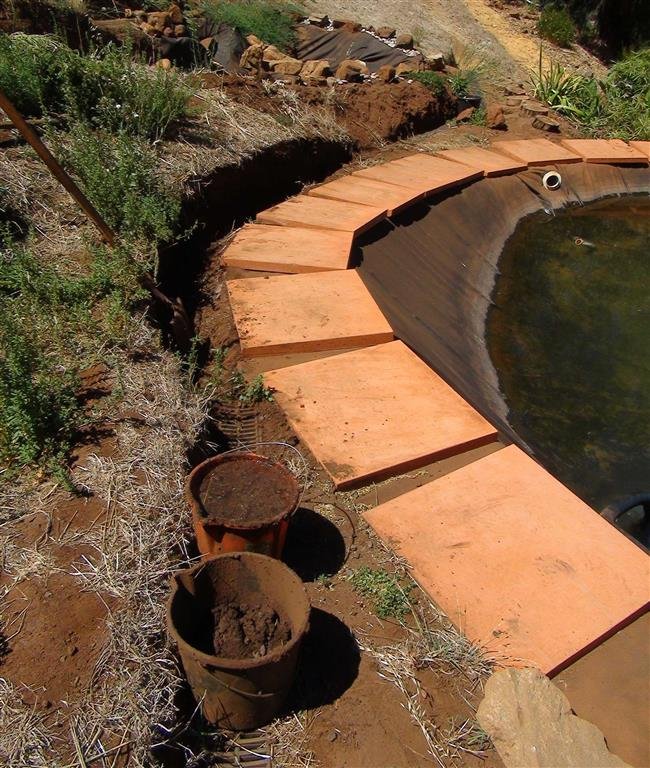
another small zigzag around some rocks the path crosses from the east side of the garden to the waterfall on the west
side. The path curves around the top pond and then crosses from the west side of the garden to the brick patio on the
east side of the garden.